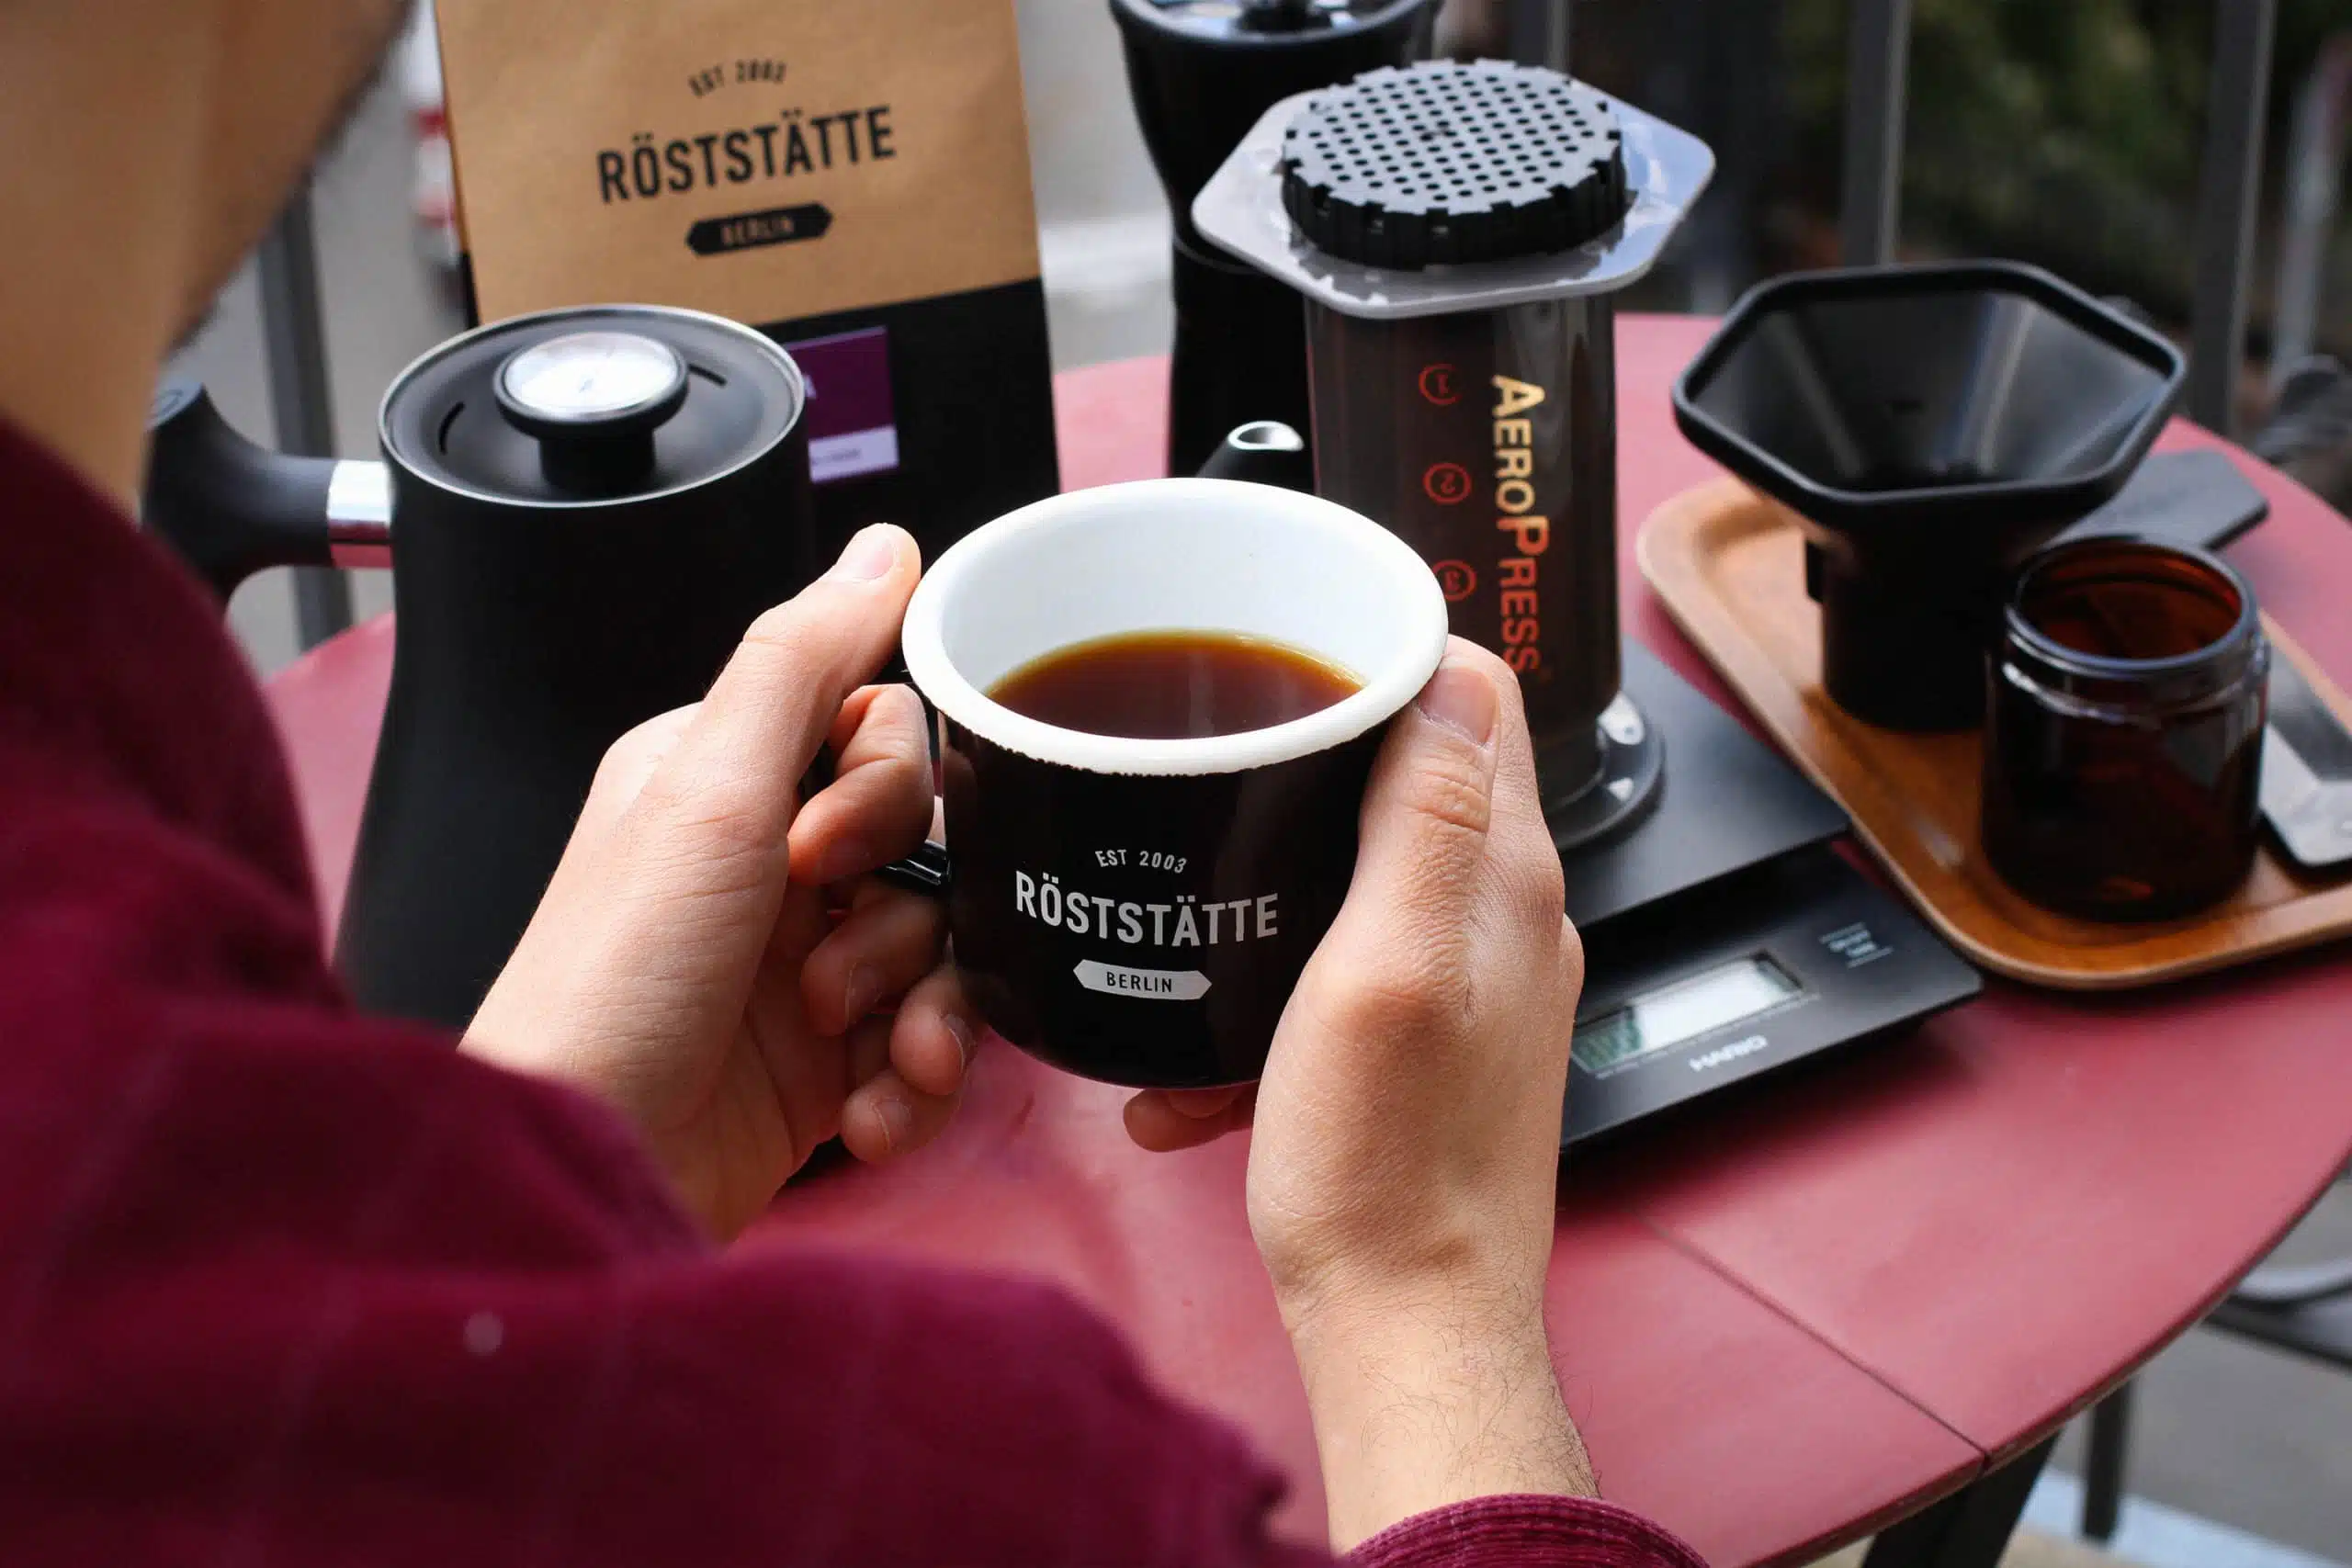
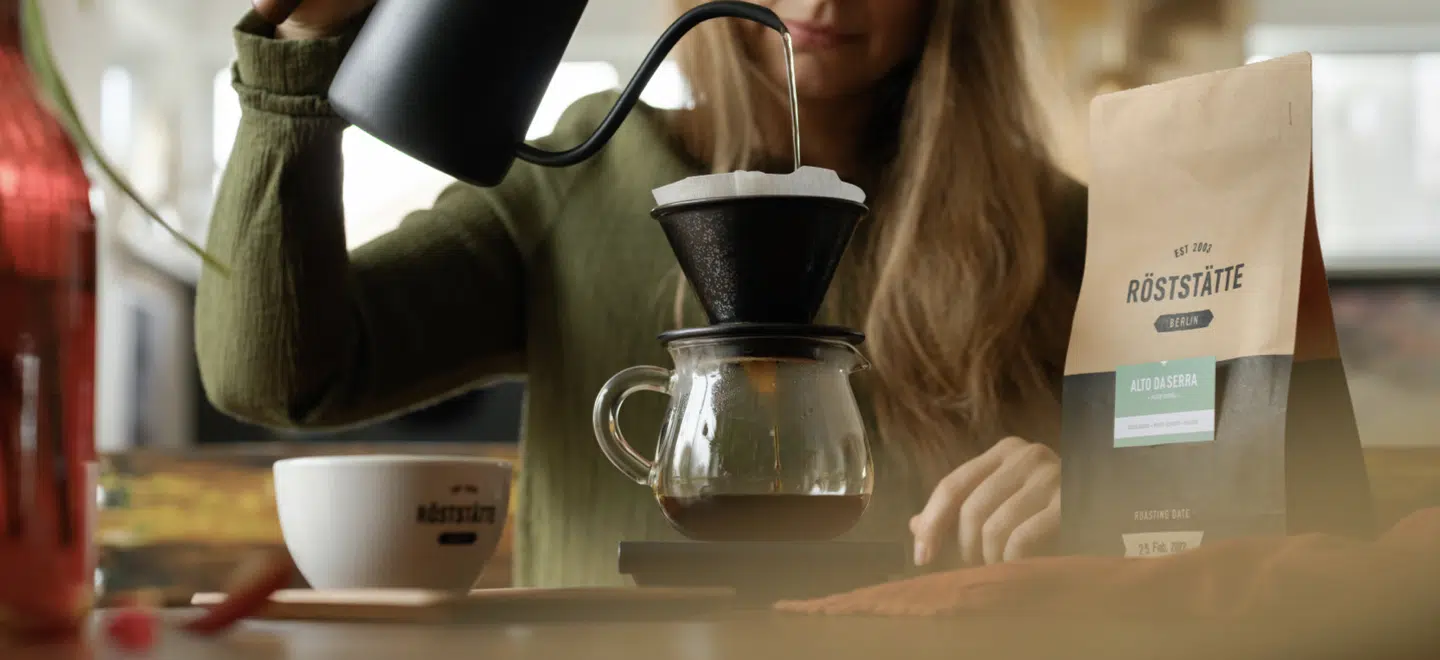
Brew Guide: How to brew coffee with the Aeropress
Our baristi are big fans of the AeroPress, because this brewing method is particularly exciting to experiment with. It produces a very nice sweetness in the cup and gives the coffee a full body. We have created for you an optimal brewing recipe that will allow you to brew a delicious cup quickly and easily.
To plunge or not to plunge - that is the big question.
What equipment you need
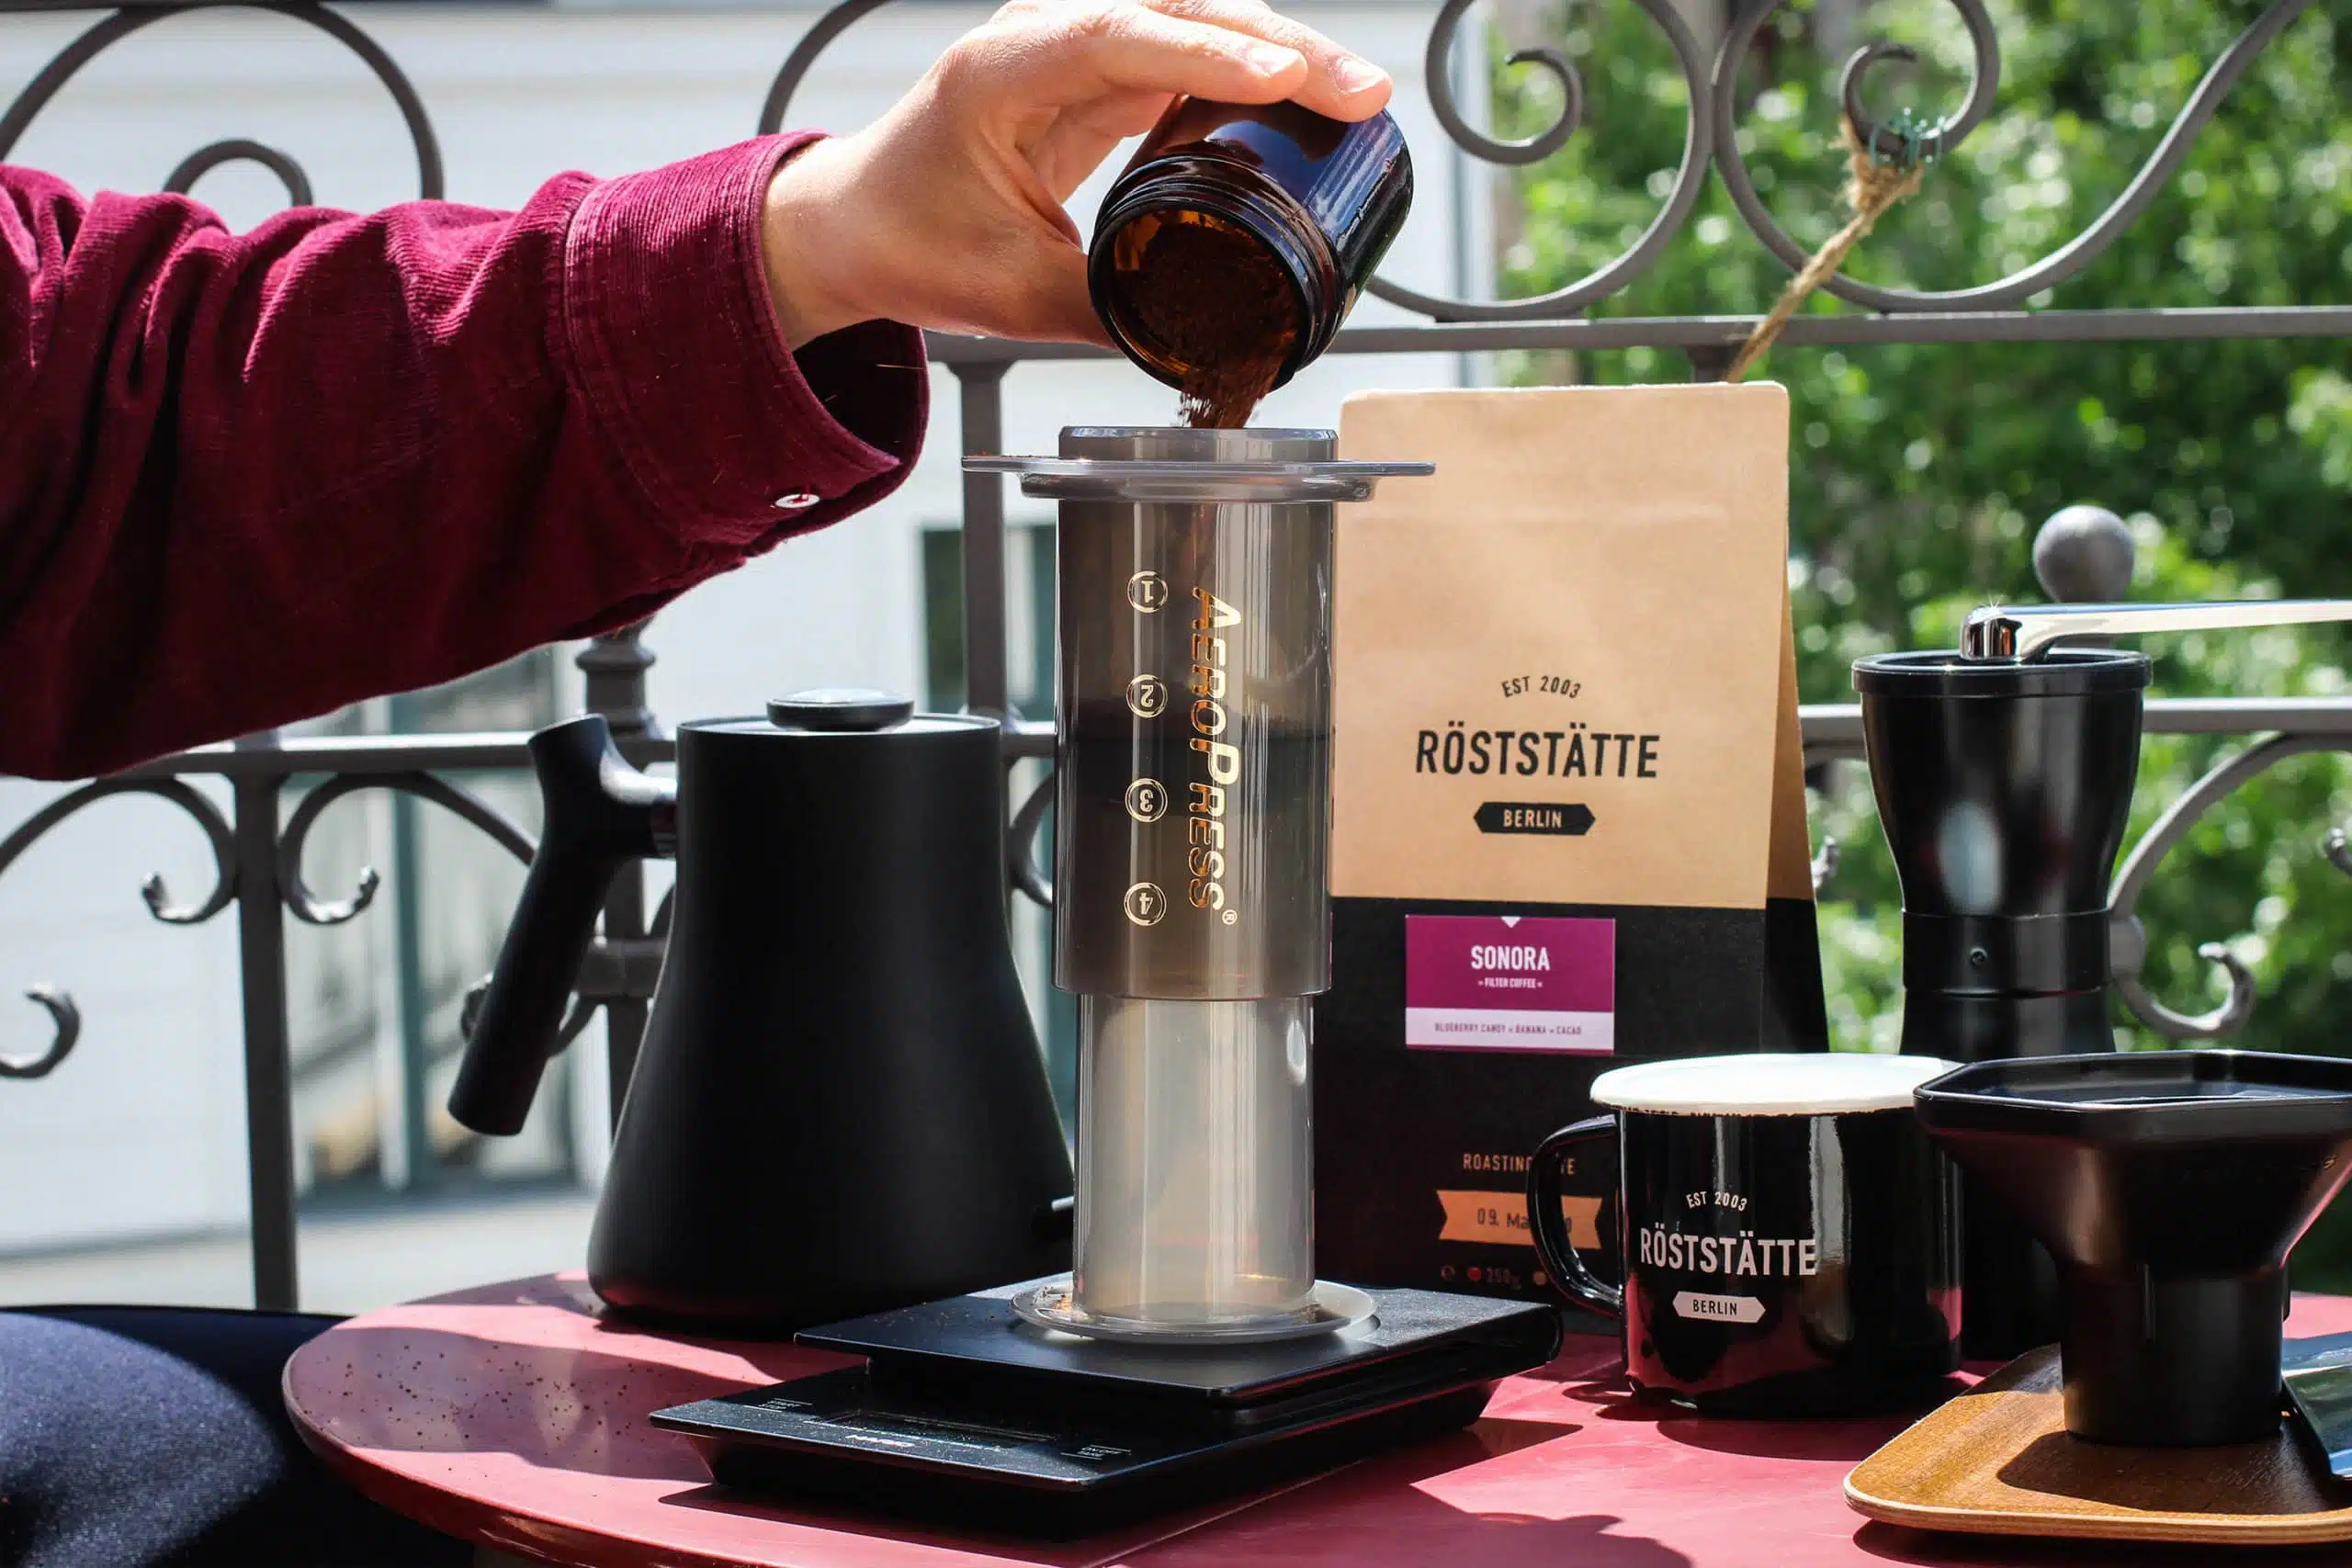
● AeroPress filter
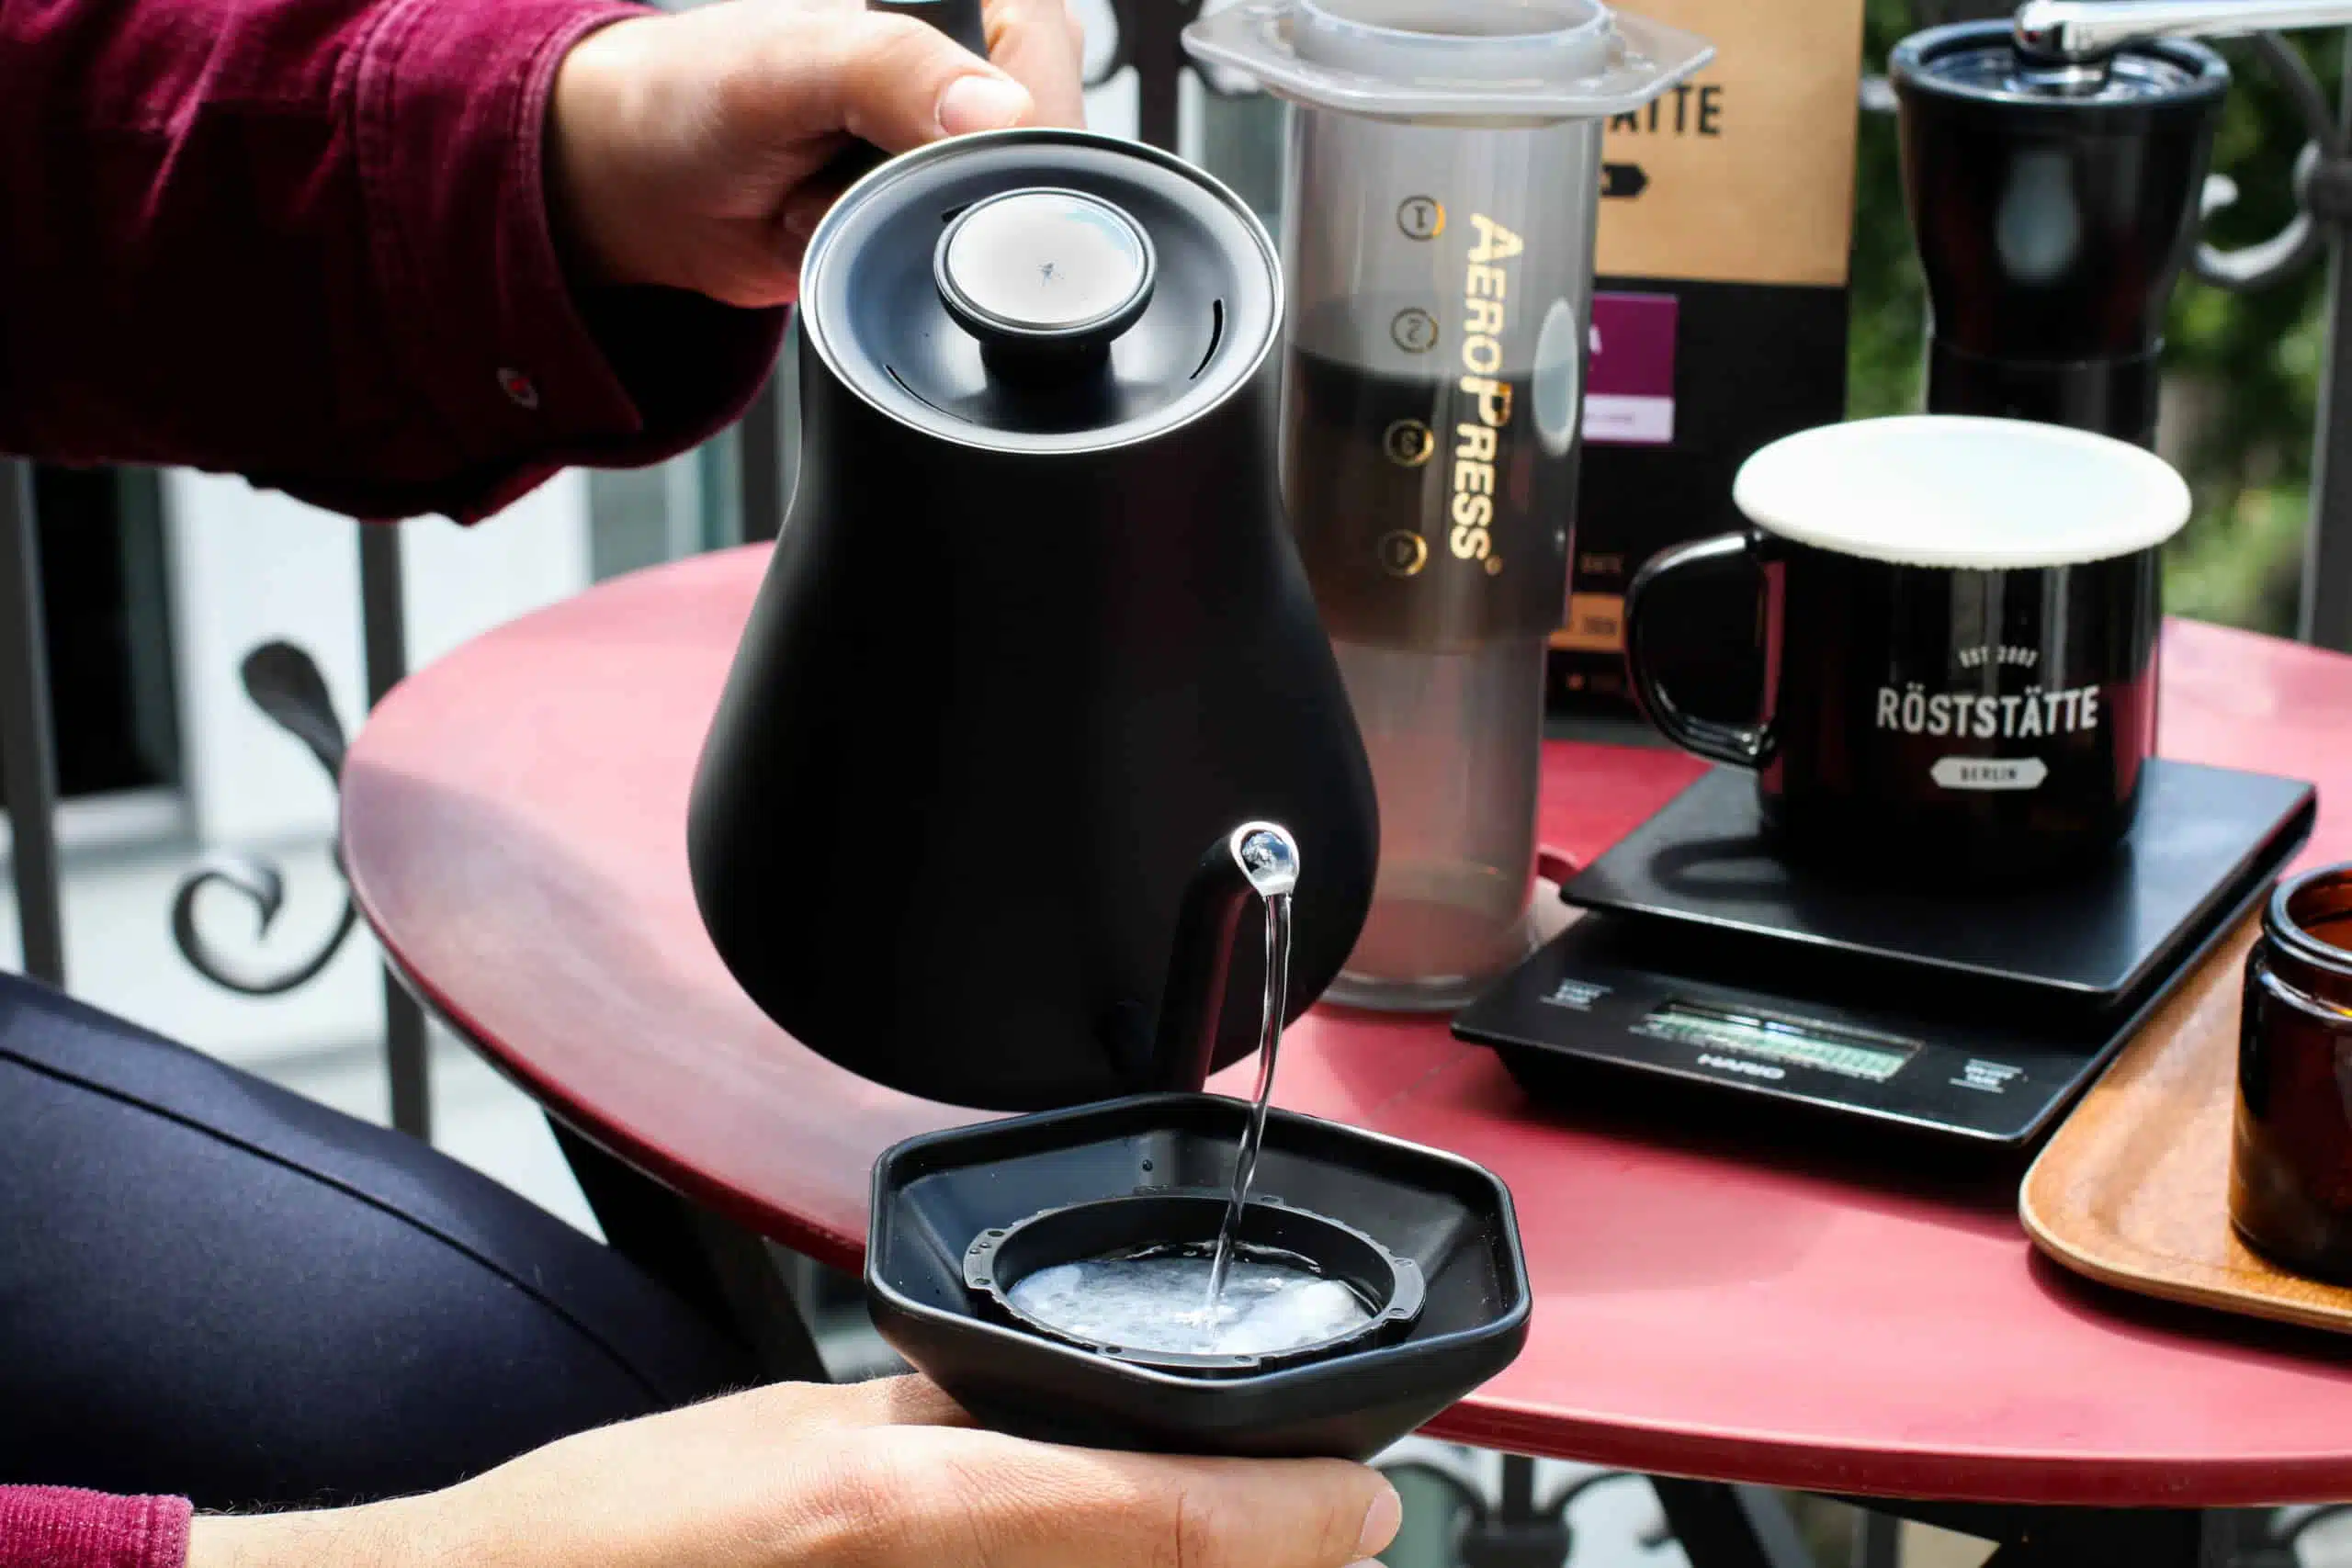
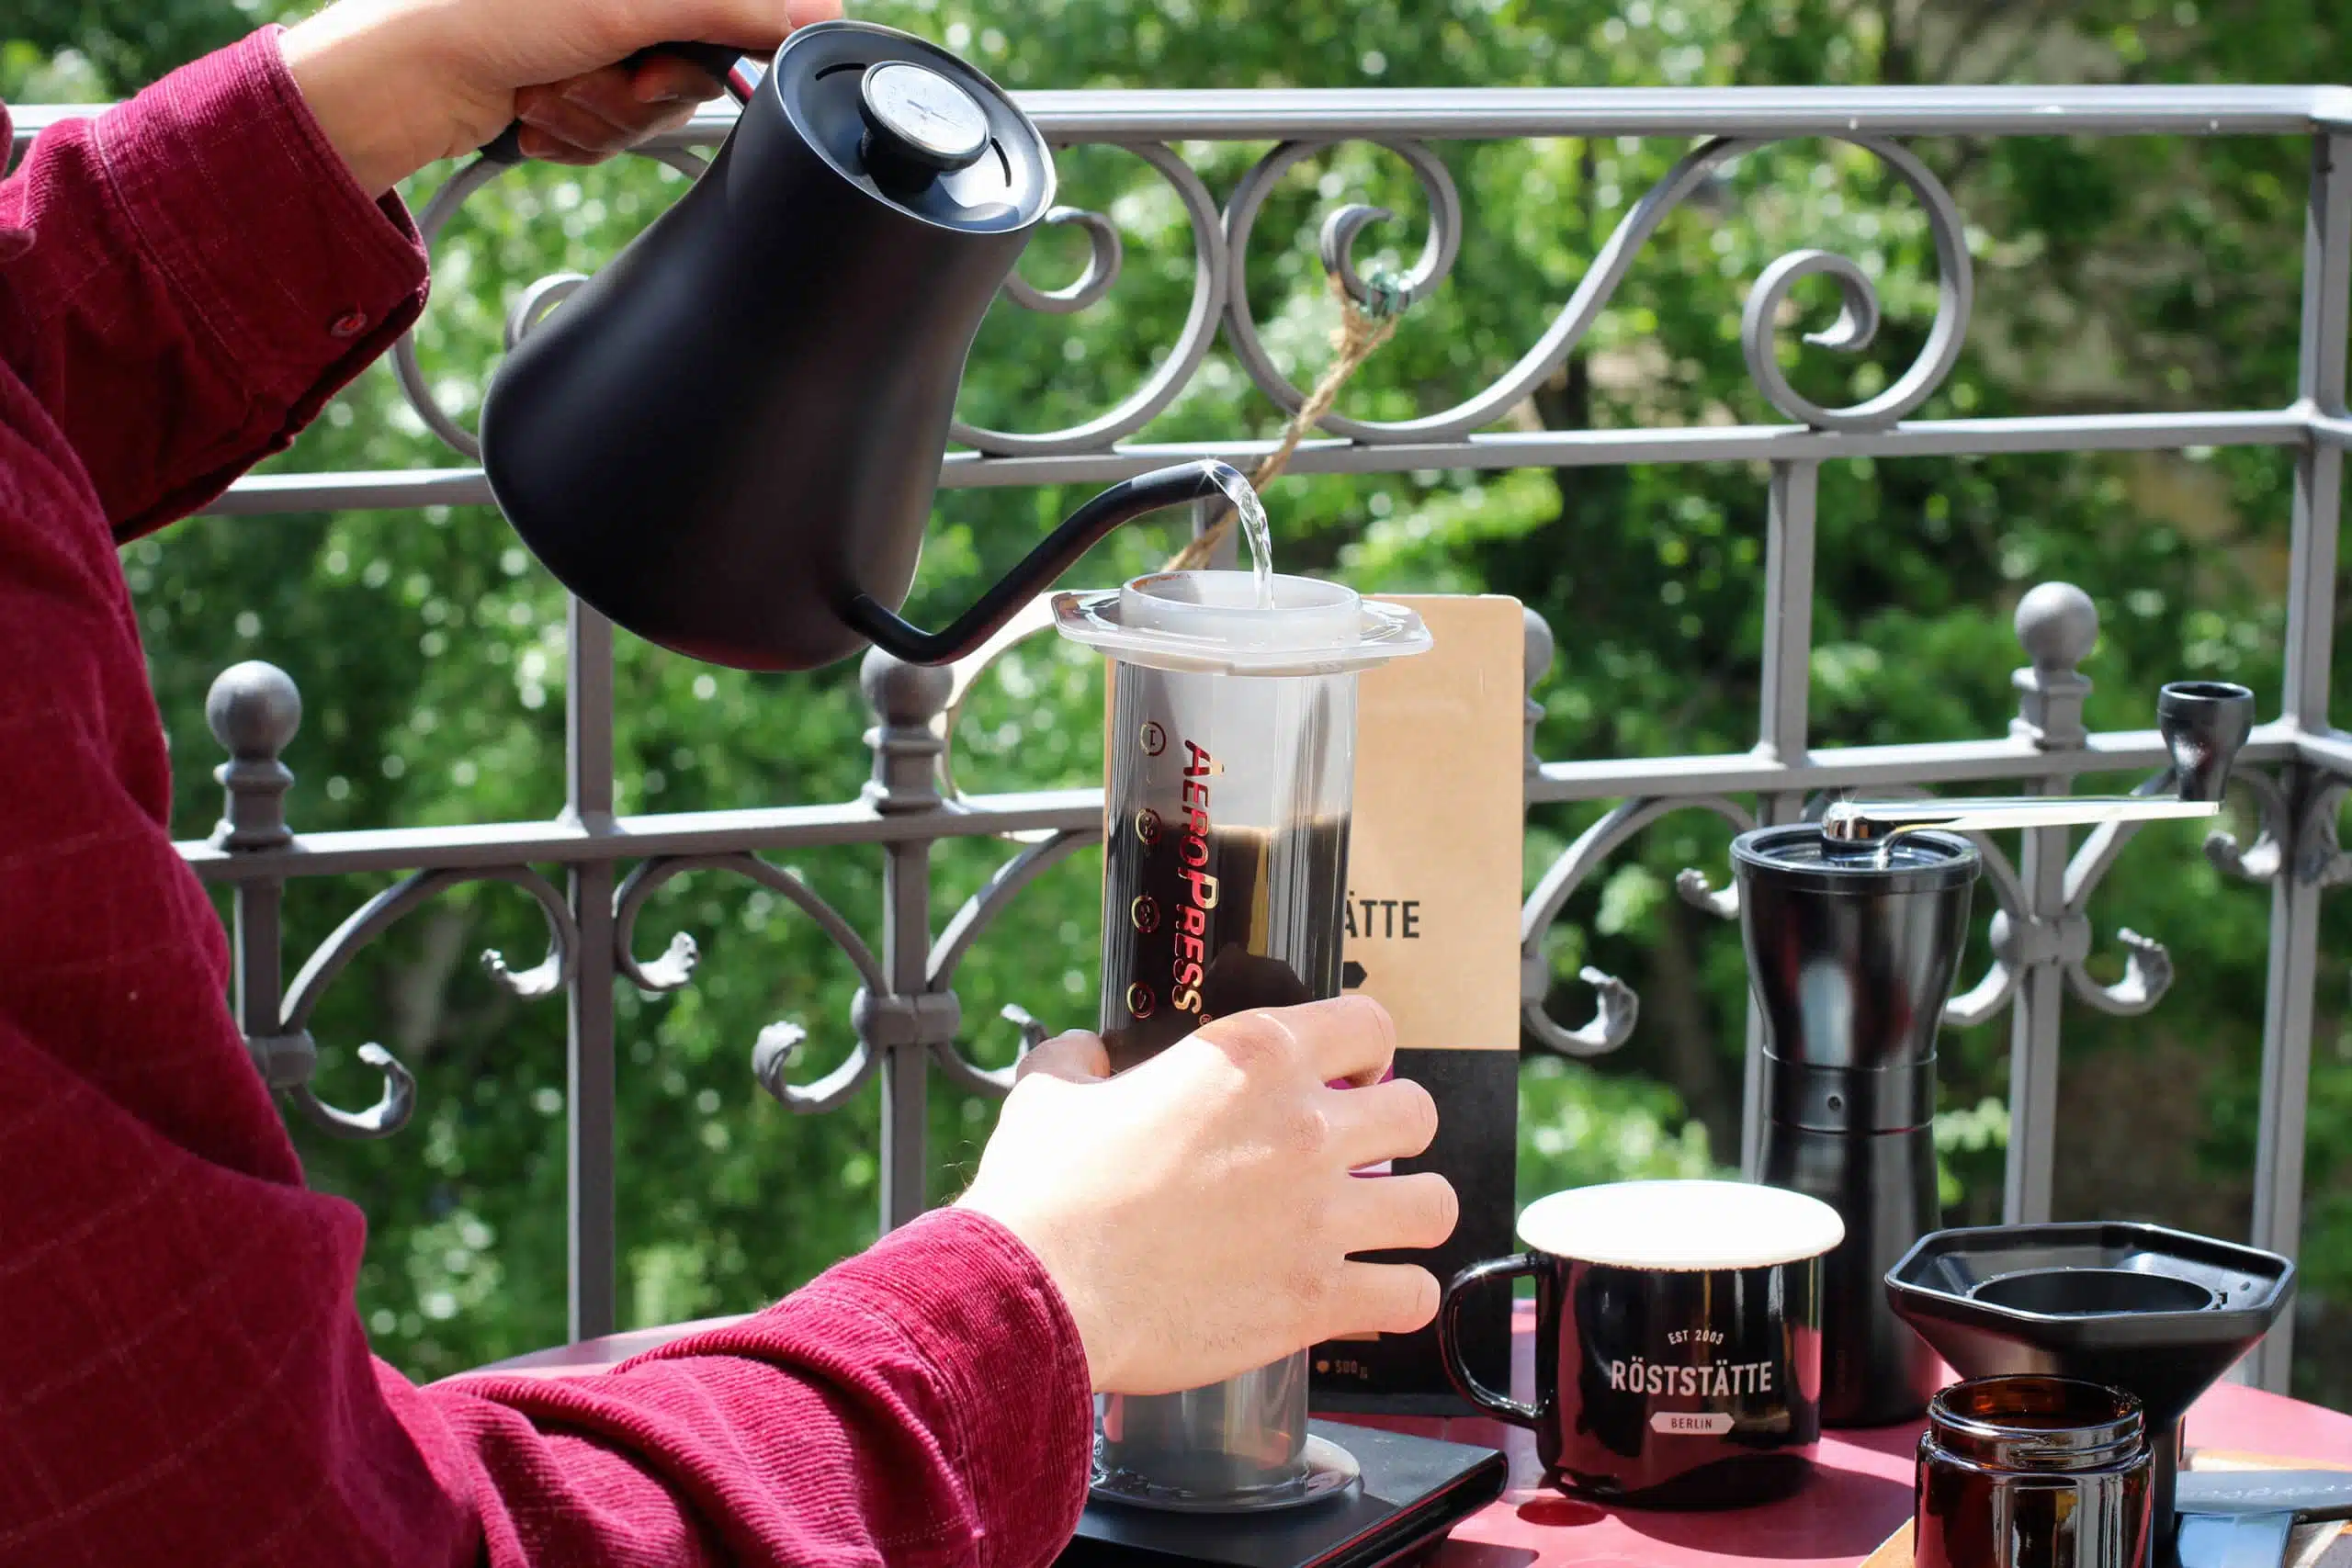
● Kettle
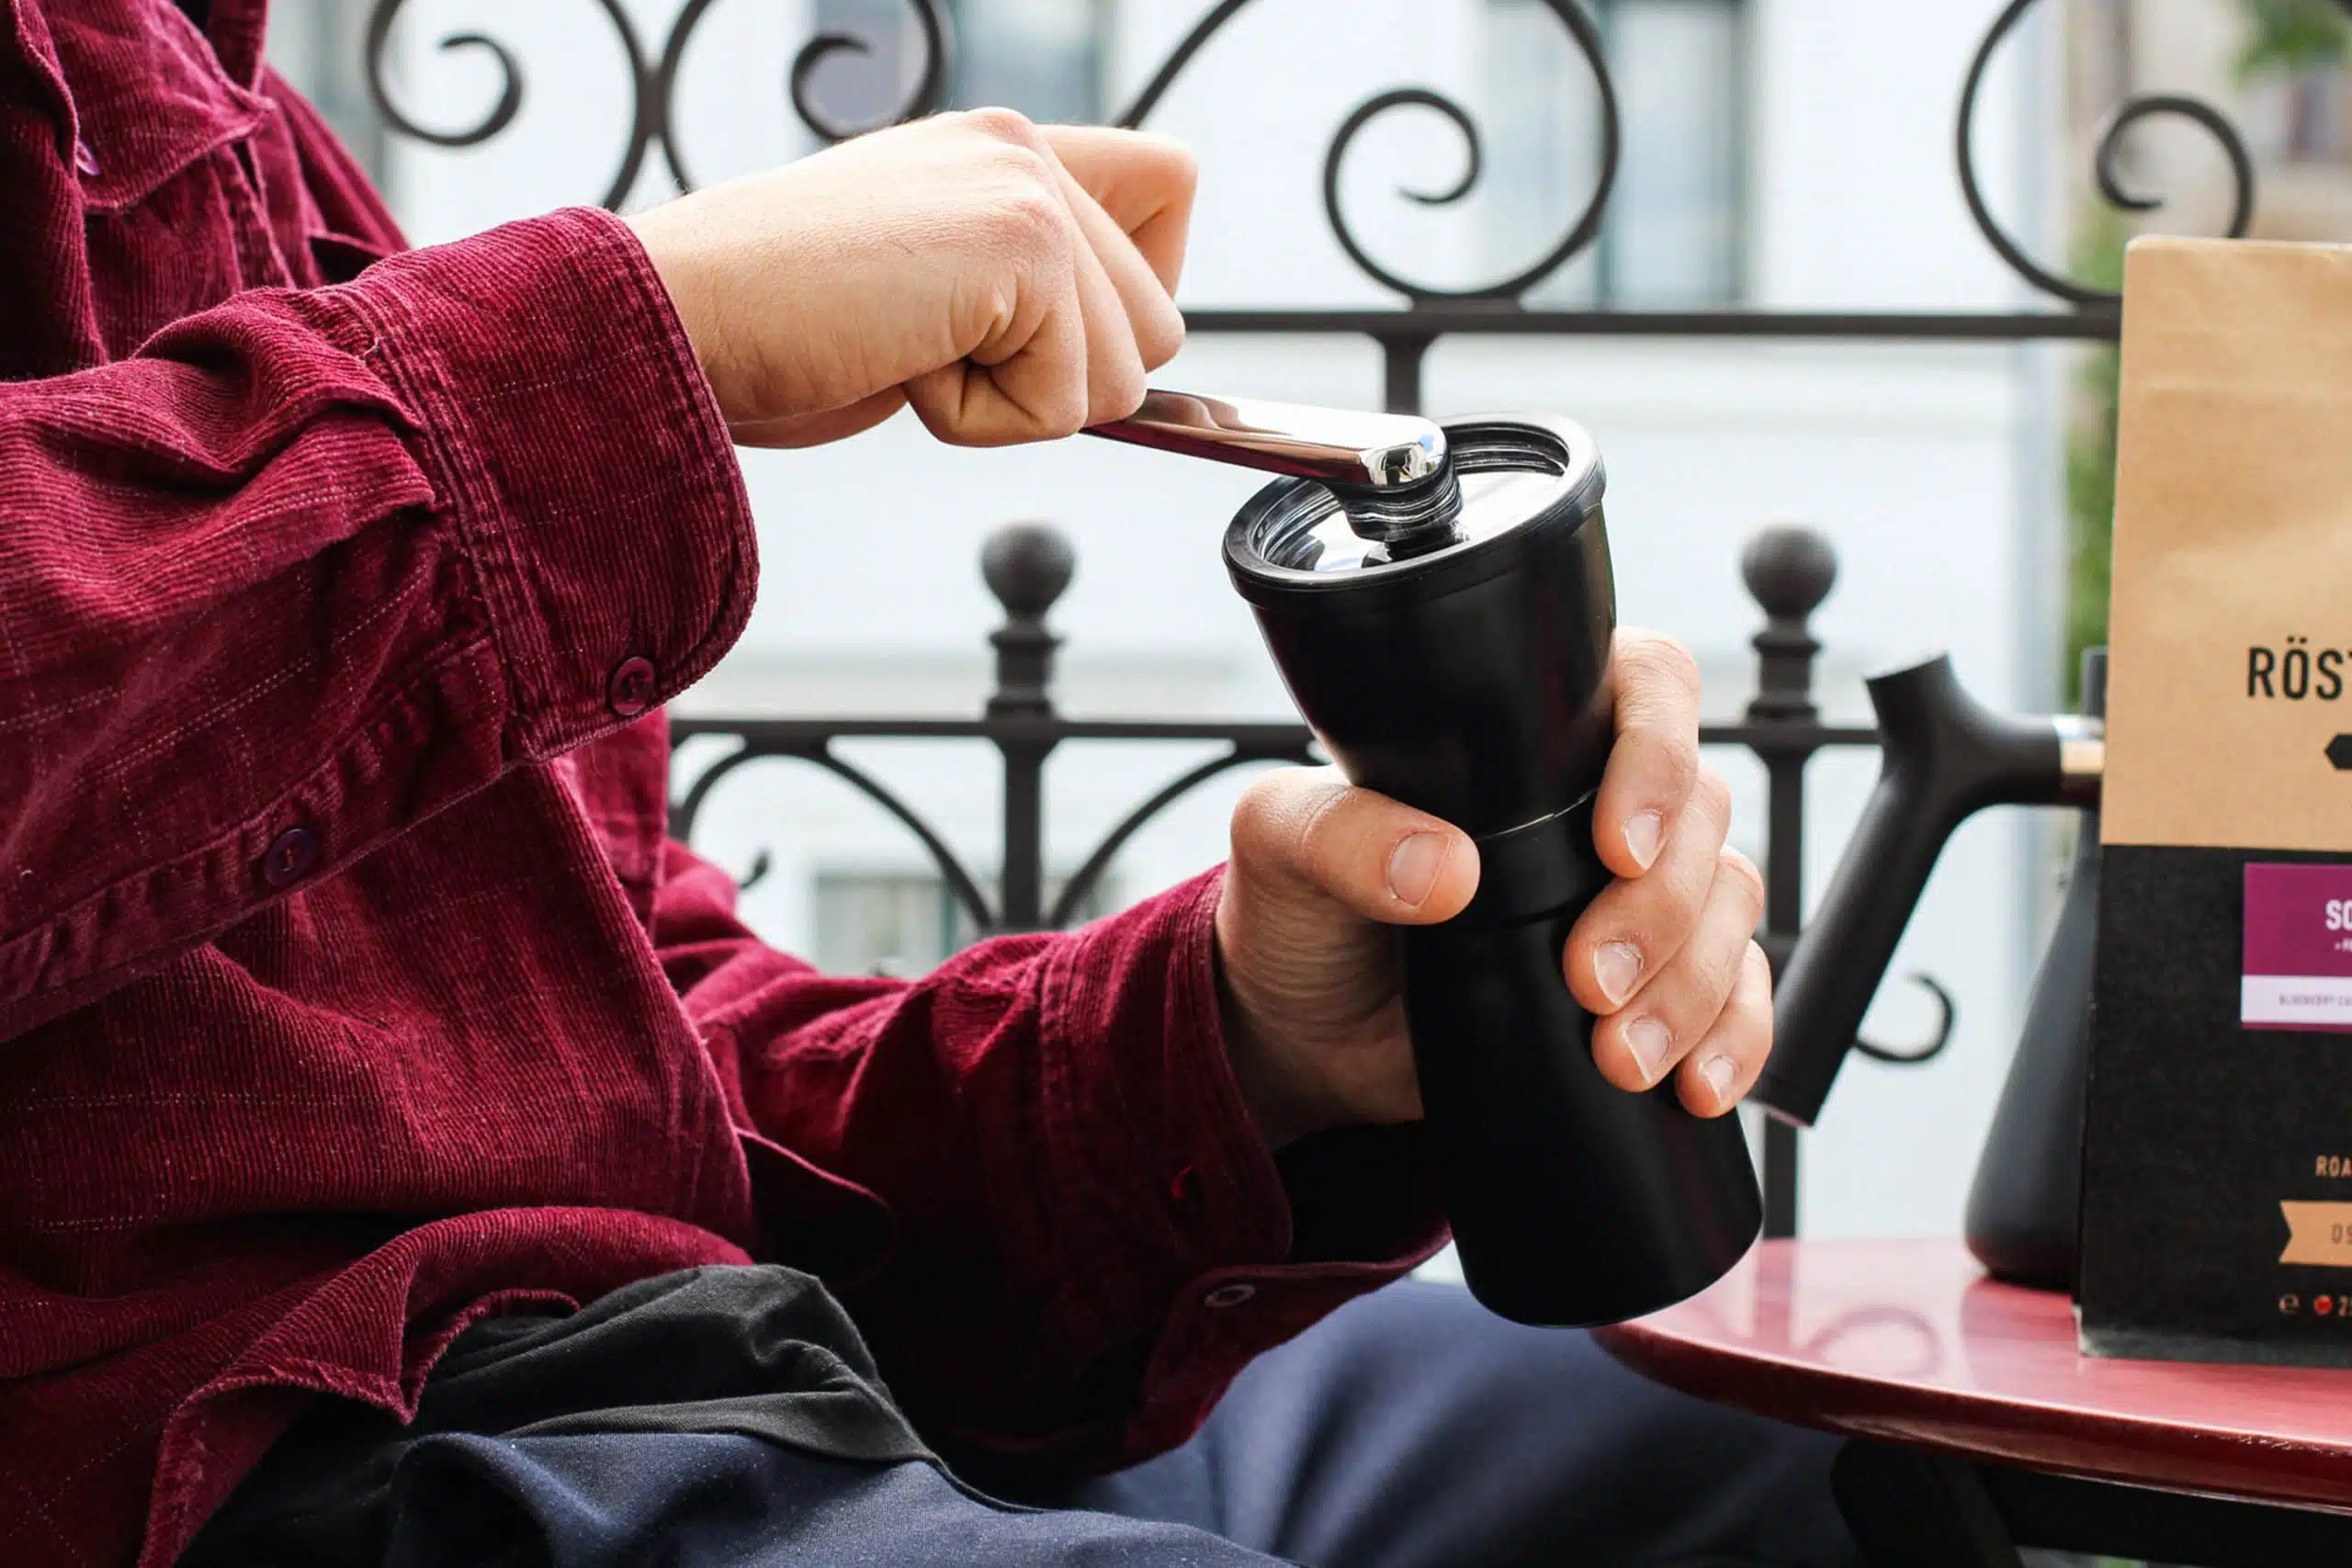
● Coffee grinder
● Scale
● Timer
● Delicious filter coffee
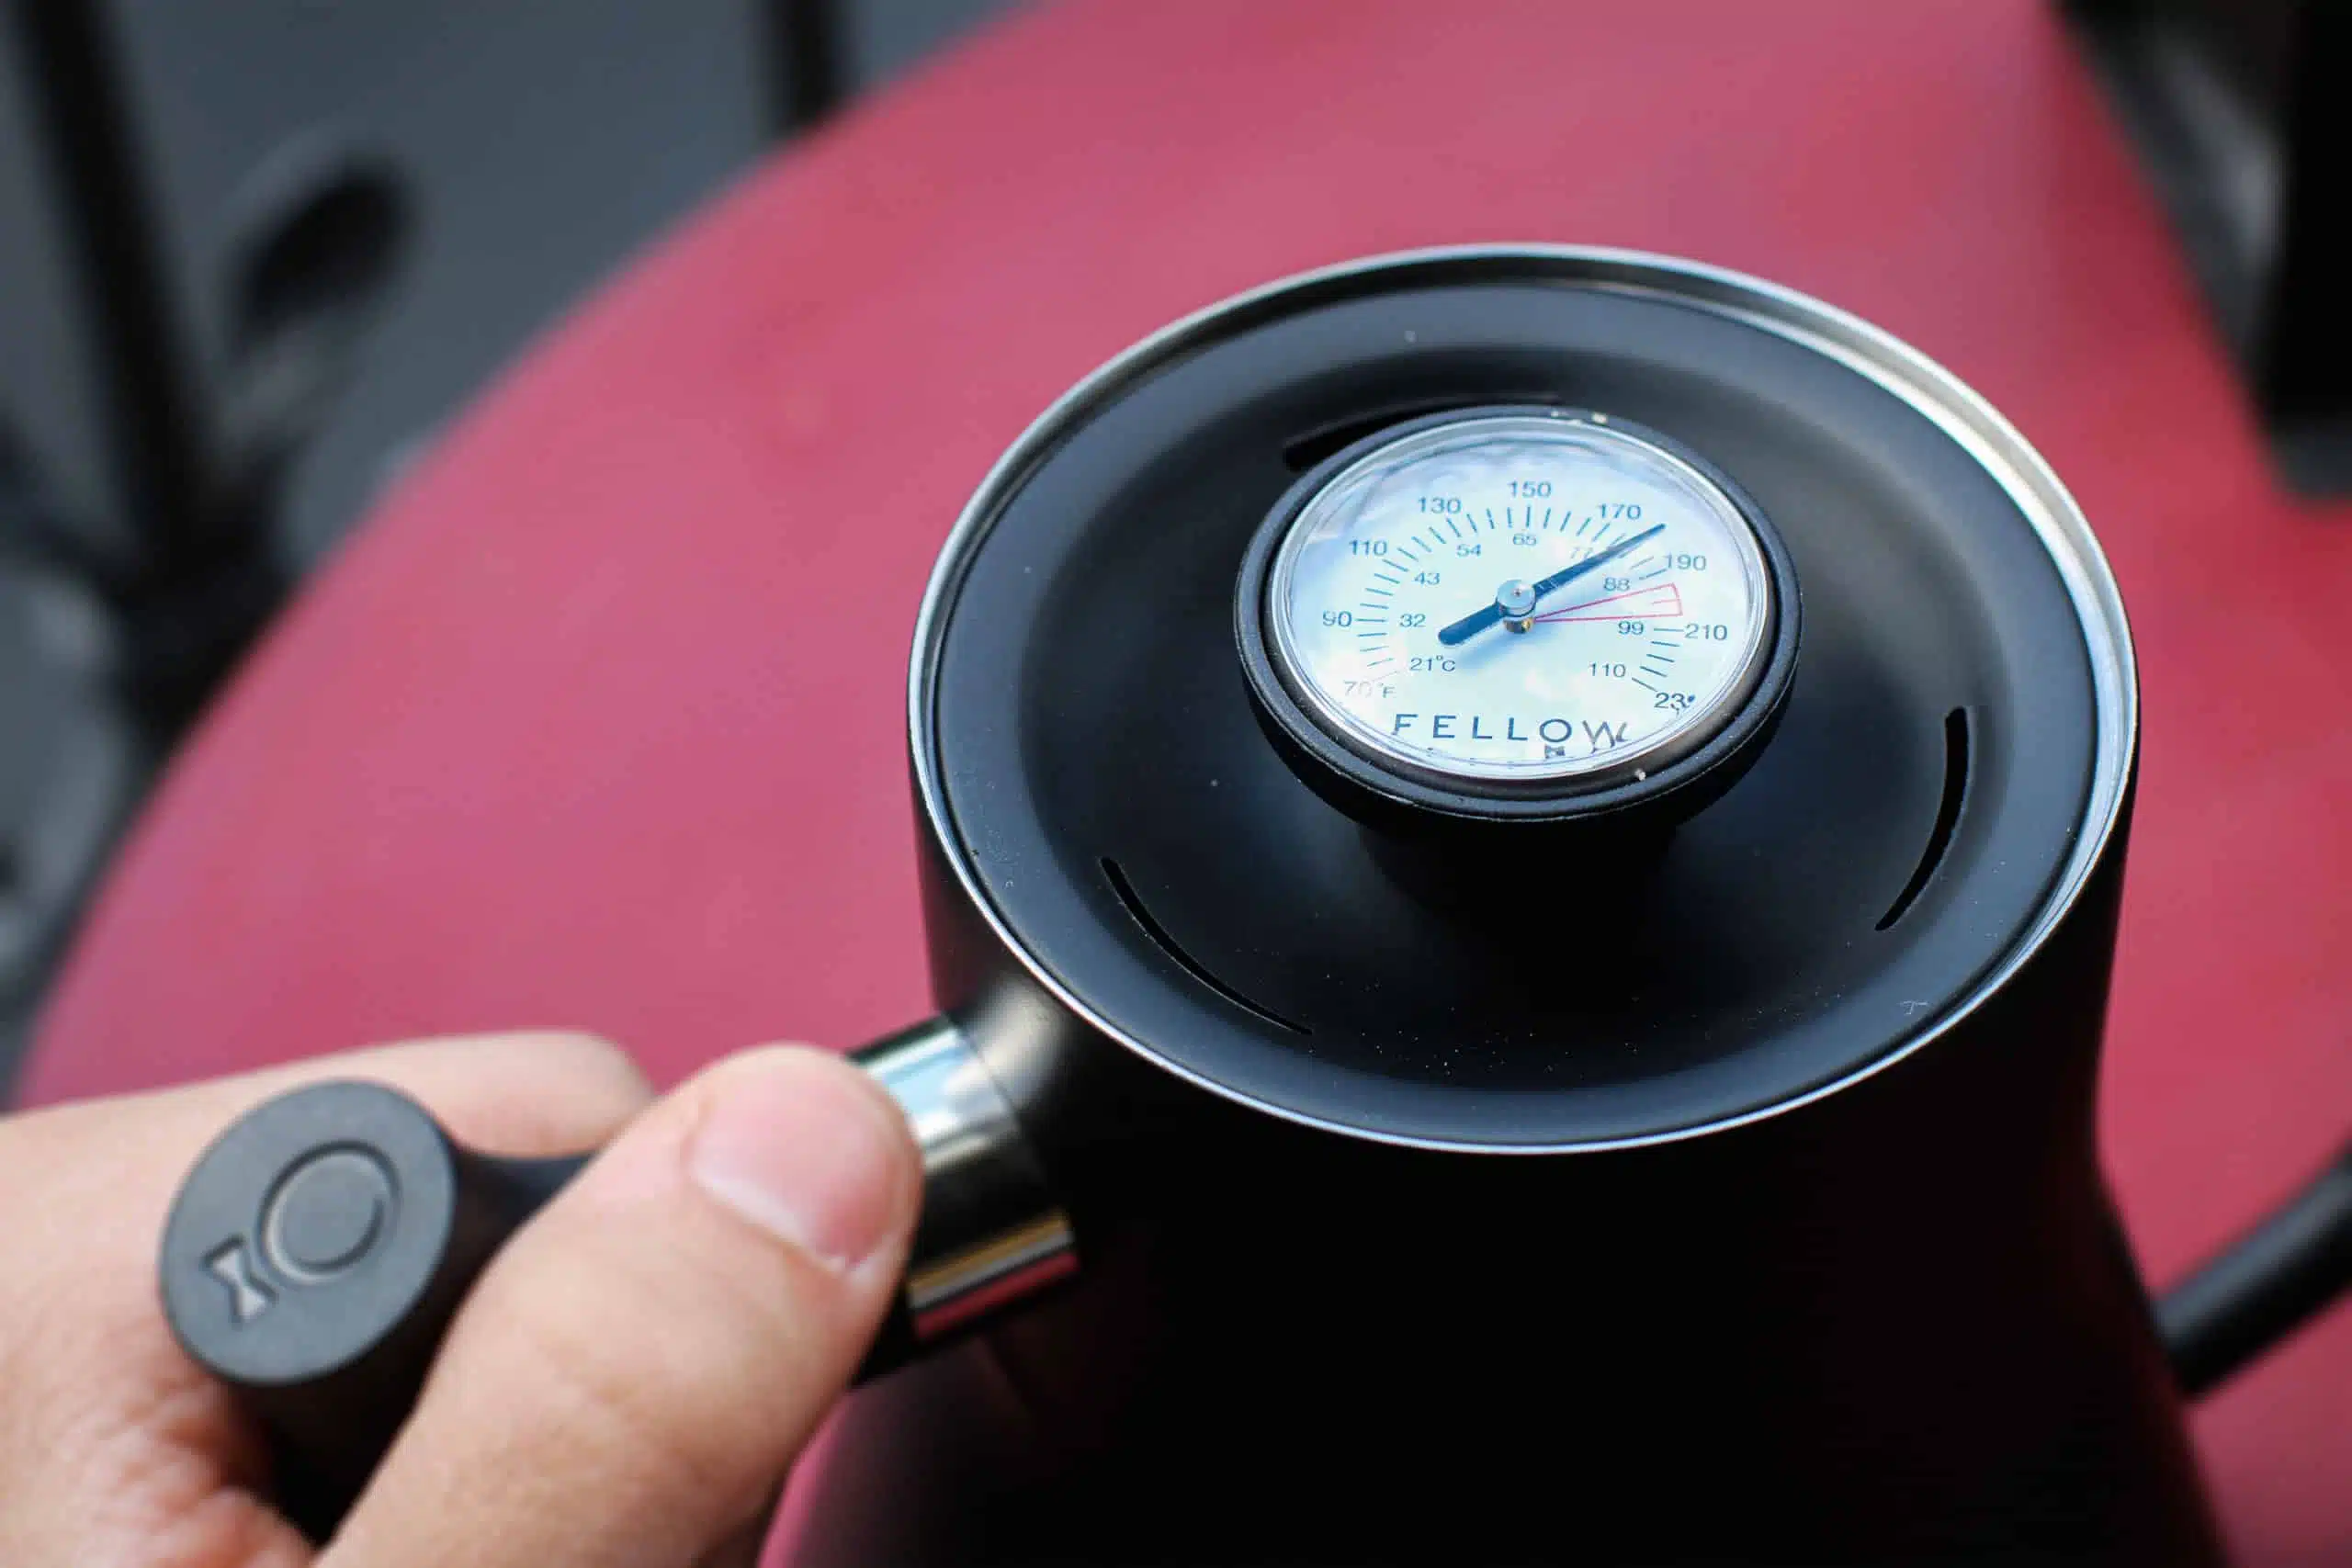
Key data
● 220ml filtered water - 89 - 95°C
● Grinding degree: medium/coarse
● Extraction time 1:30
Easy brew in 7 steps
Step 1
Step 2
Step 3
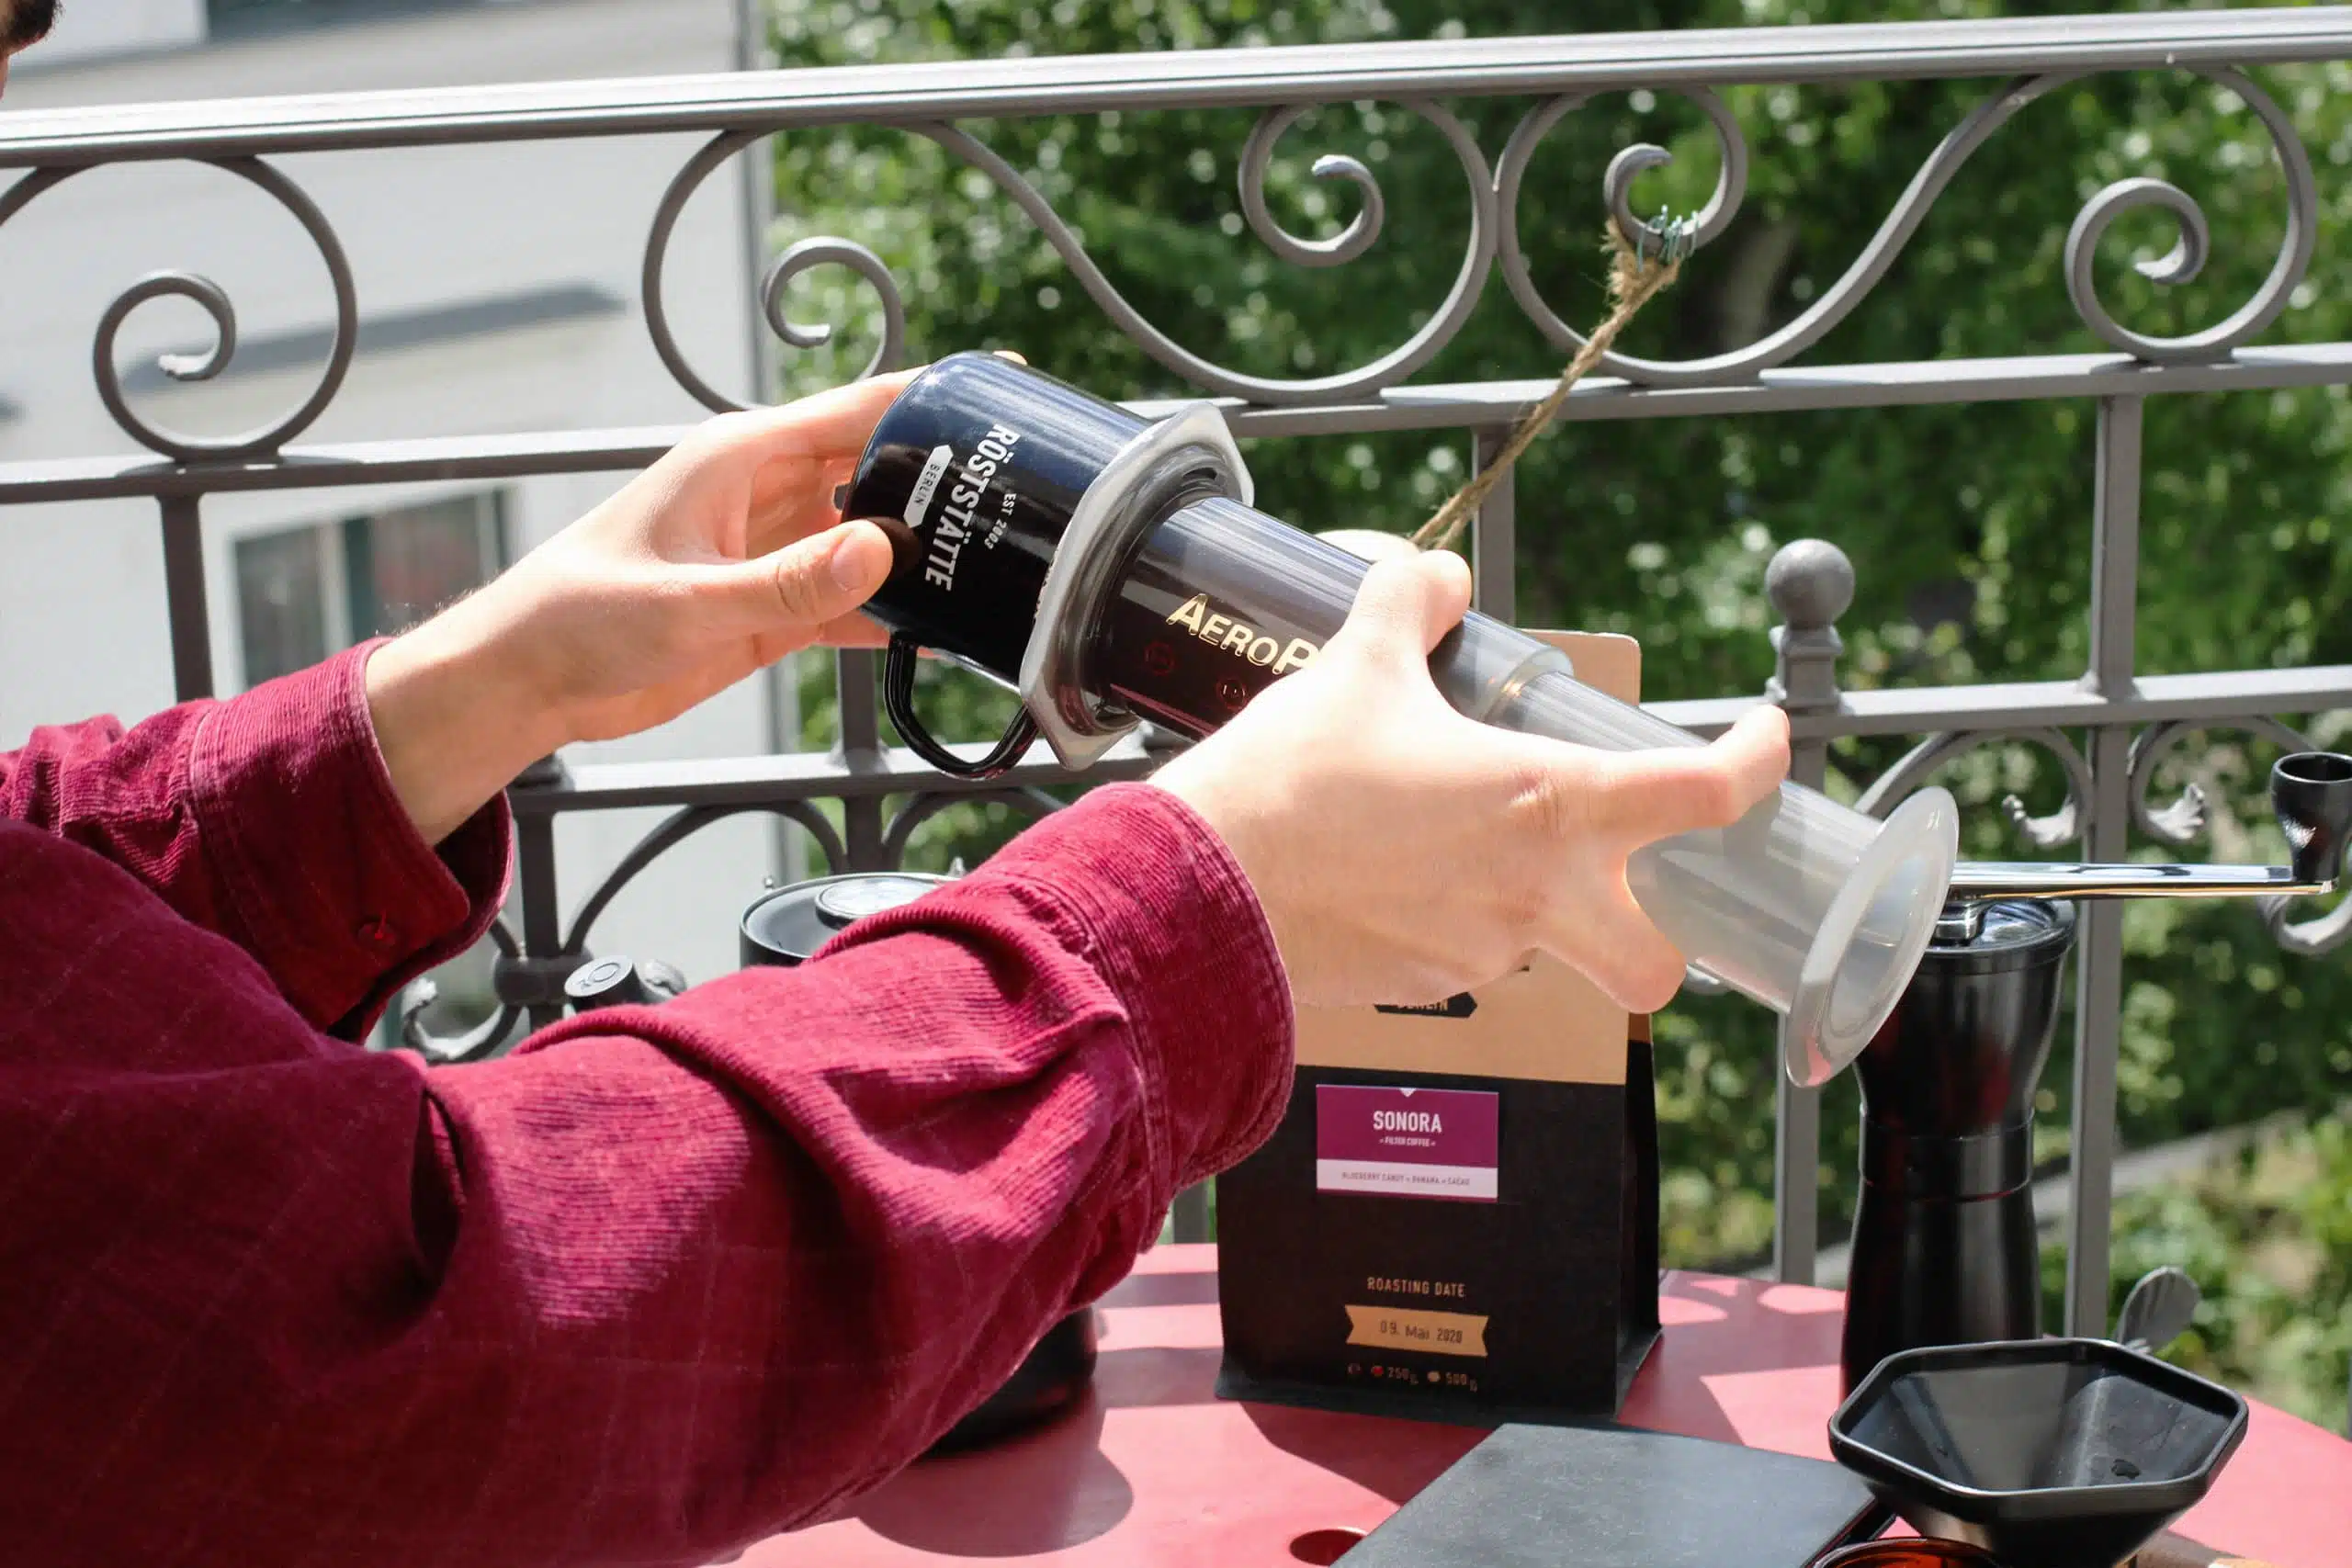
Step 4
Step 5
Step 6
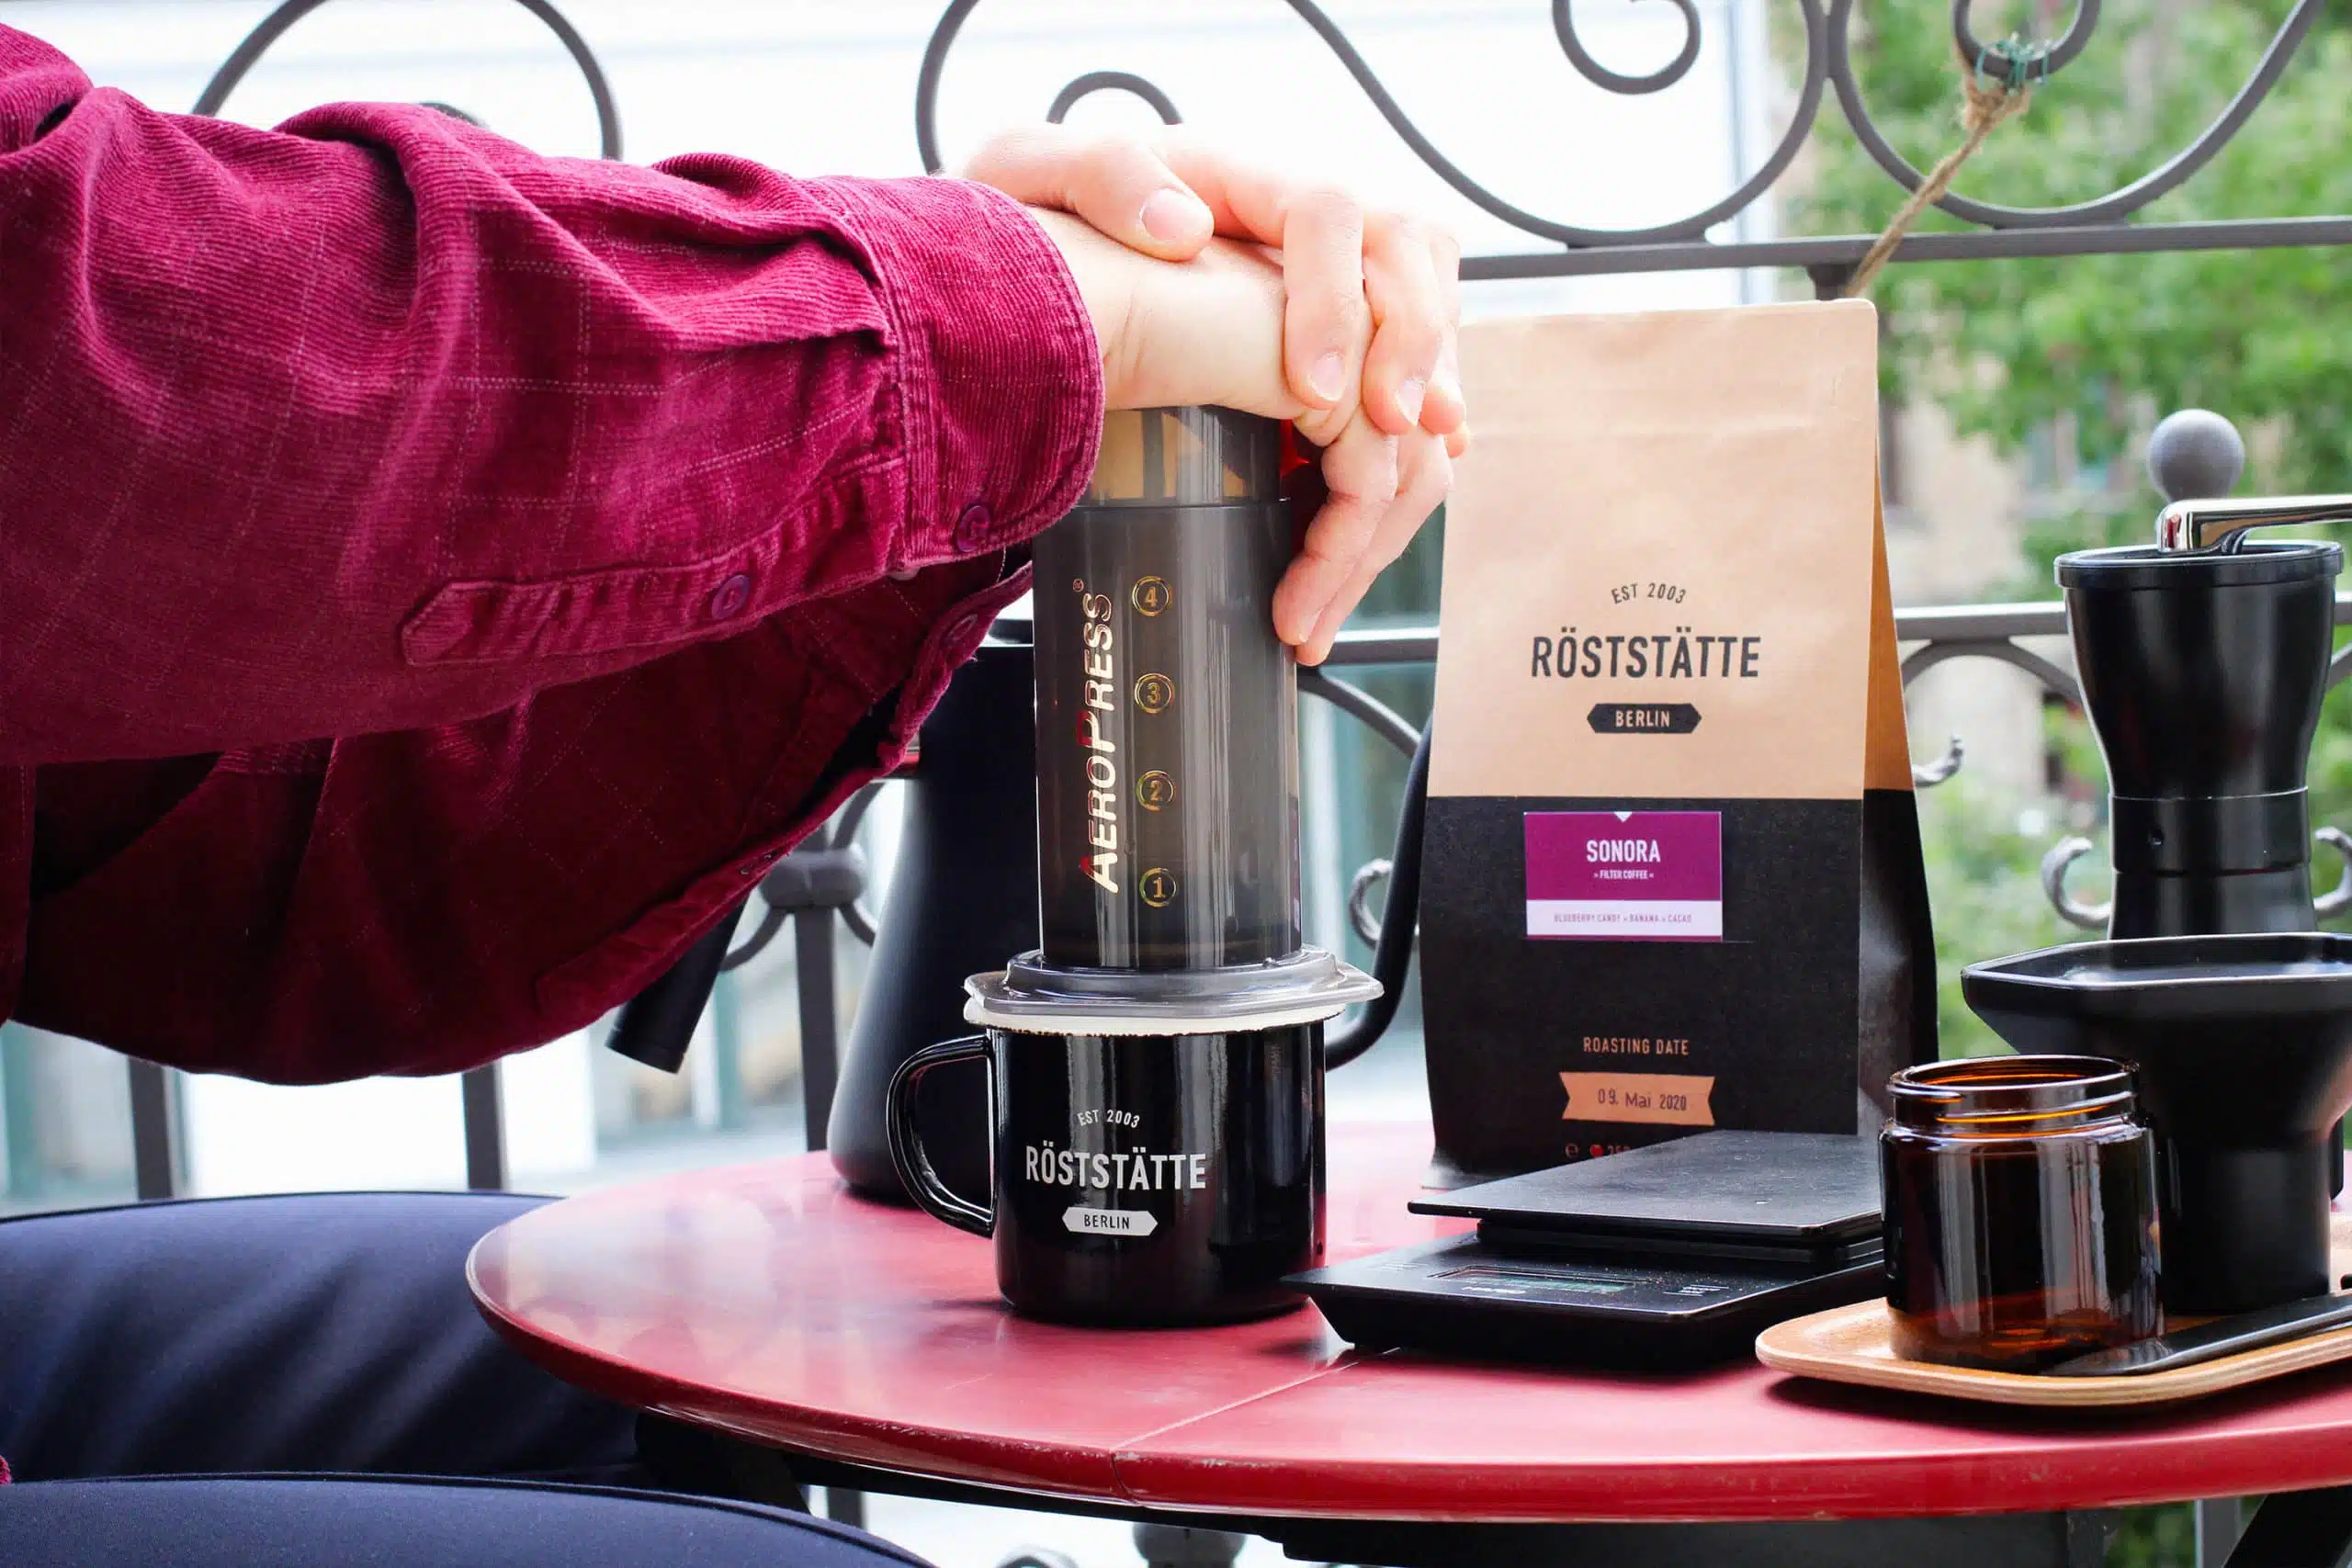
Step 7
Related Posts
How to brew espresso: Six tips for the perfect espresso
From dosing to tamping, with the right technique you’ll soon be making espresso even better.
23.05.2021
Coffee aging: When coffee tastes best
Nicole looks into the question of when your coffee tastes best and explains why coffee needs time to mature before it reaches its full taste…
04.02.2021
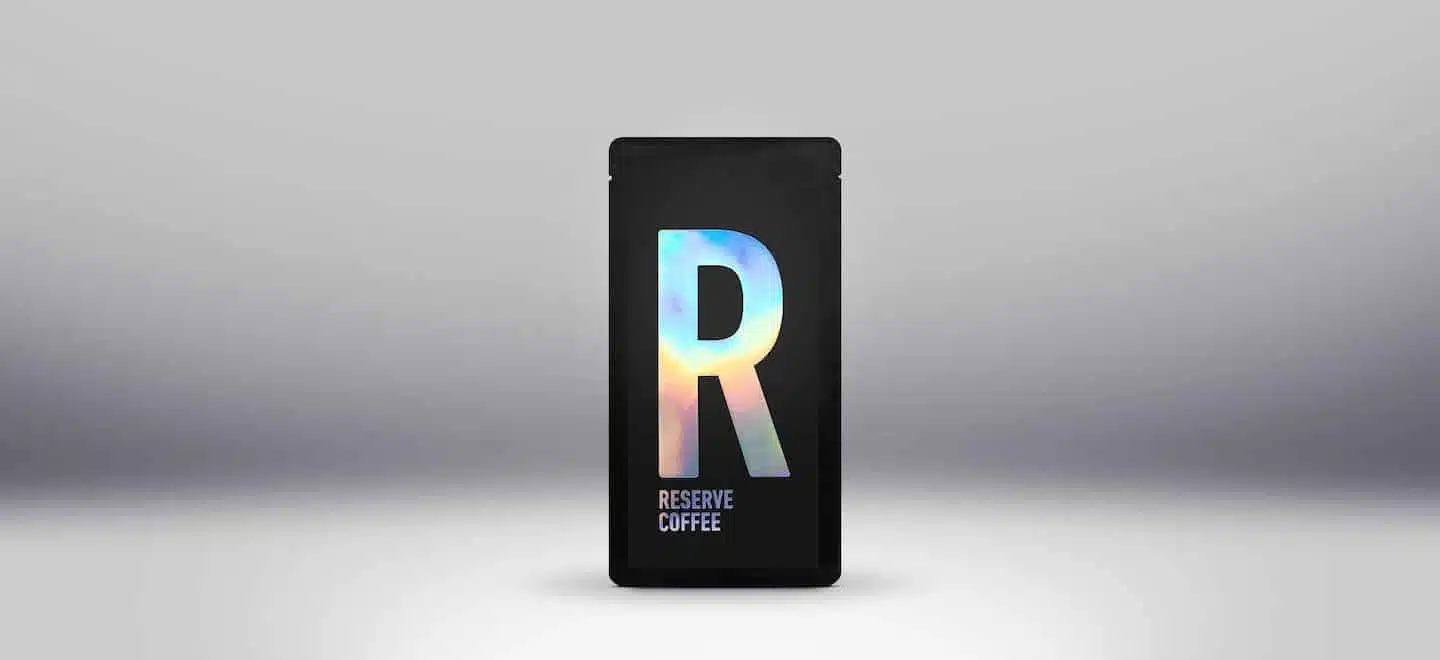
Reserve Coffees EN
With our new Reserve edition, available from time to time, we roast for you exclusive coffees from some of the most innovative producers of different…
09.09.2021

Roasting coffee: how it works
Controlled and slow or hot and fast? When we roast coffee, we develop its aroma. How coffee roasting works and the advantages of artisan drum…
28.08.2022
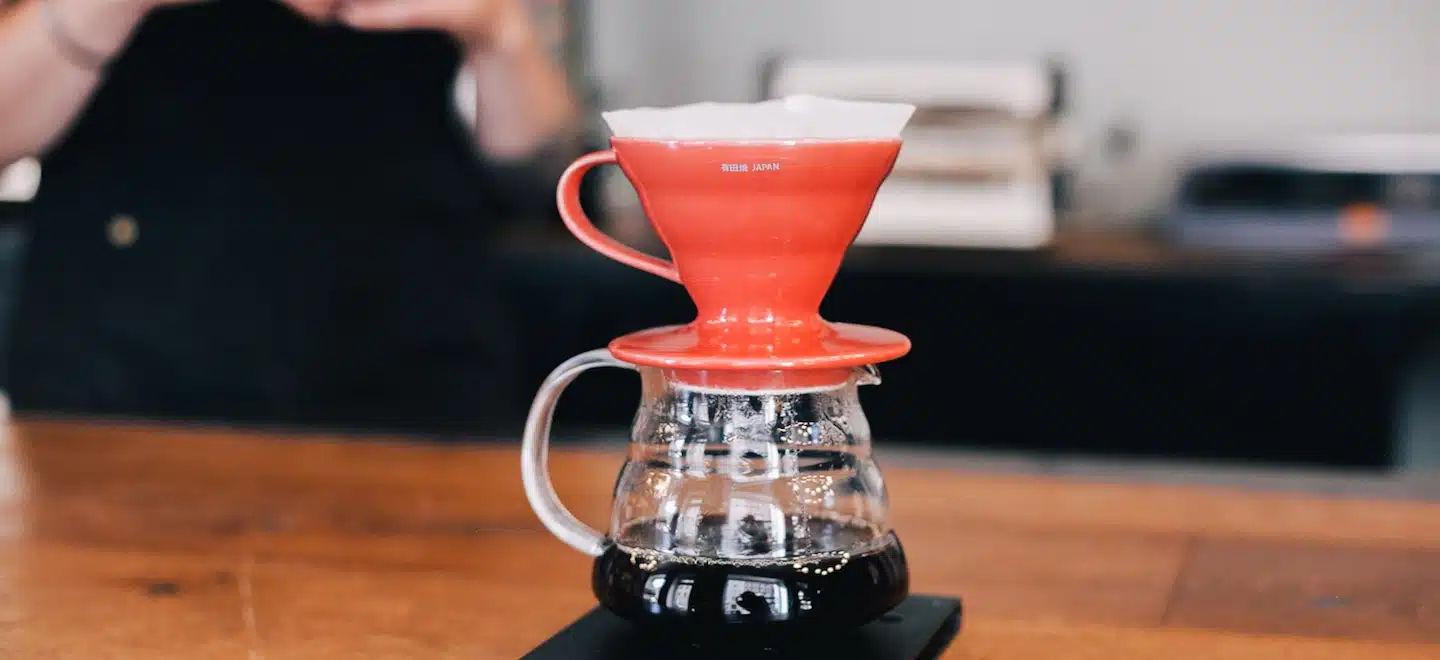
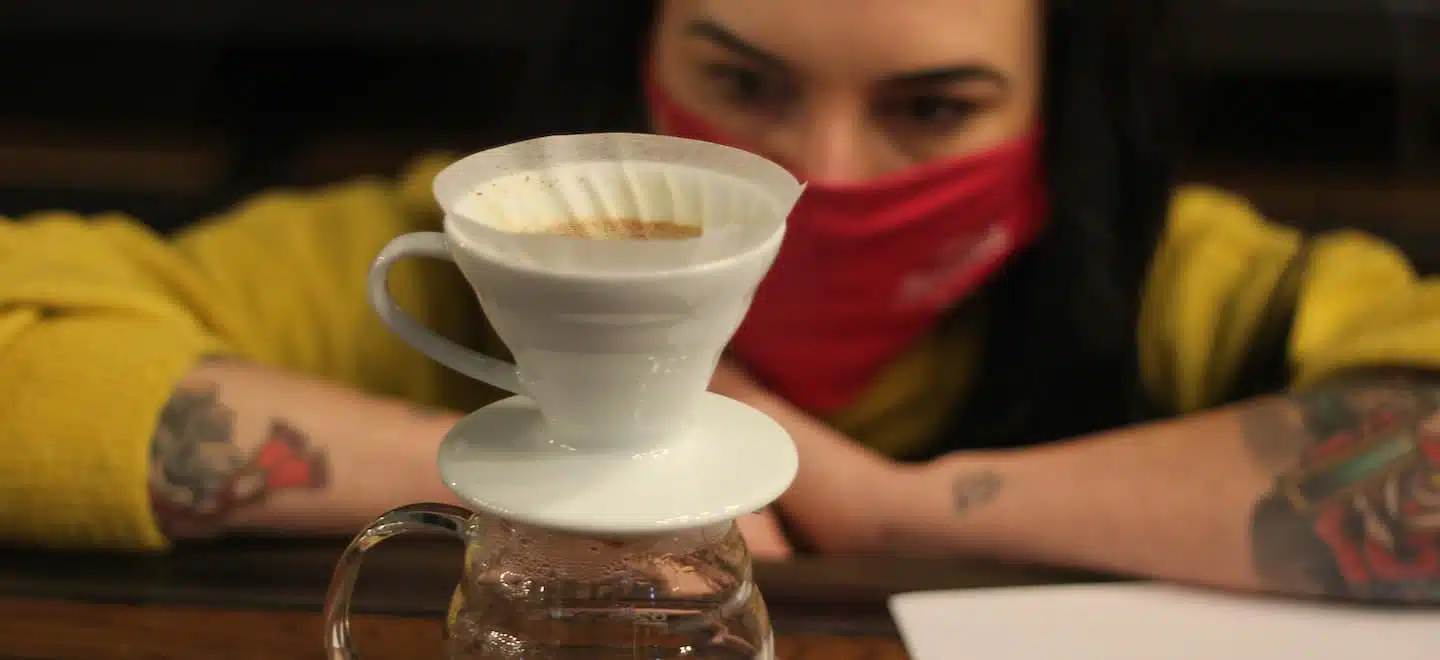
How to brew filter coffee: Five tips for delicious coffee
With our tips for getting started, you can brew filter coffee even better and determine all the parameters precisely.
22.05.2021
Top 10: Best European Specialty Coffee Roaster
We are thrilled – for the first time, we are among the top 10 specialty coffee roasters in Europe.
15.10.2025
From Barista Battle to sensory skills – here are our events for Berlin Coffee Week
Coffee lovers have been waiting a long time for it, now it’s finally back: Berlin Coffee Week. We offer a range of events for the…
03.06.2023
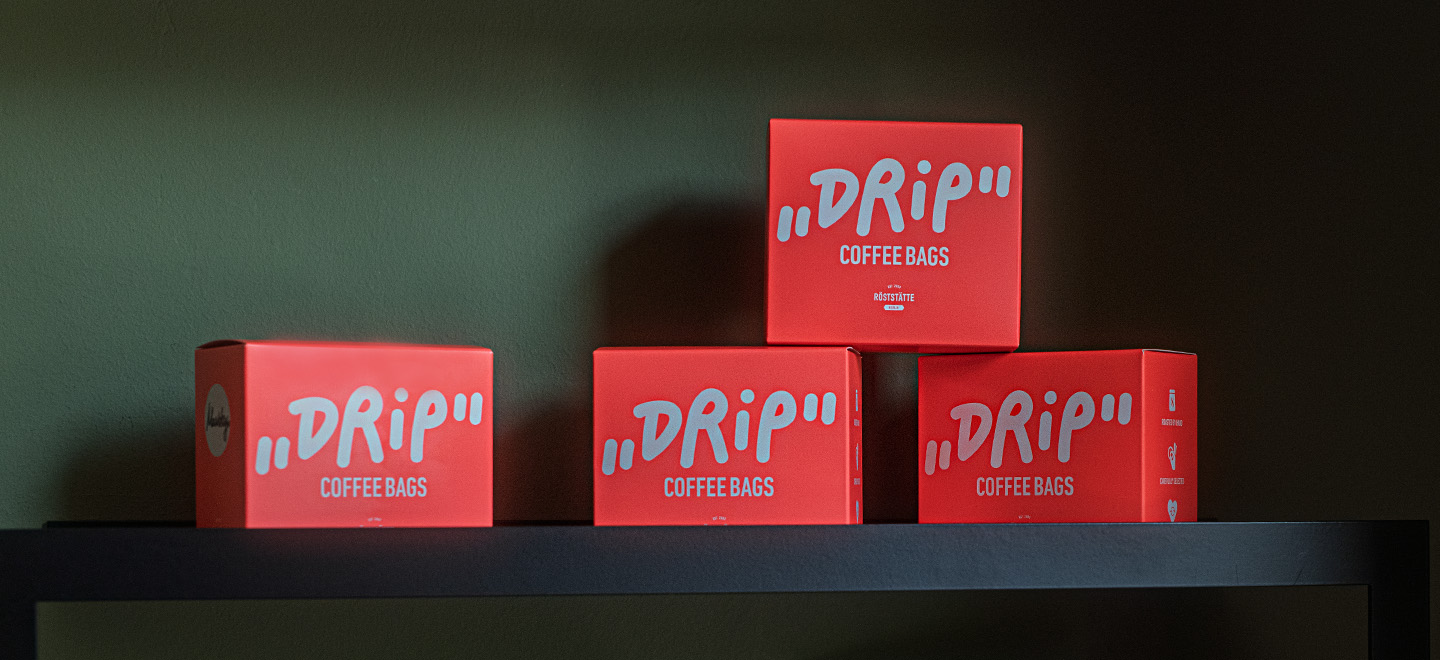
5 reasons why you will love our drip bags
Specialty coffee in your pocket – it’s possible with our new drip bags. In this blog post, we explain the most important reasons for this…
21.03.2025
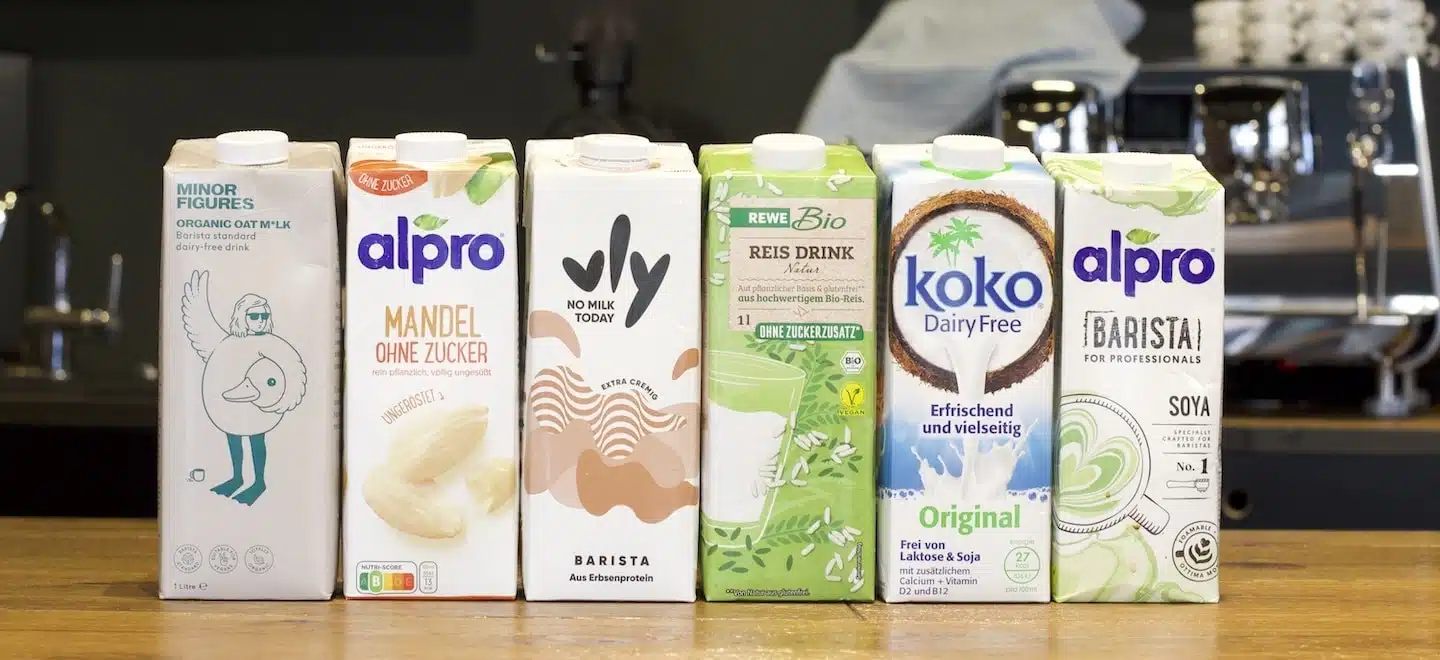
The great milk alternatives test
The coffee shops of this world are becoming more and more creative and diverse when it comes to offering their customers unique coffee specialities. The…
22.01.2021

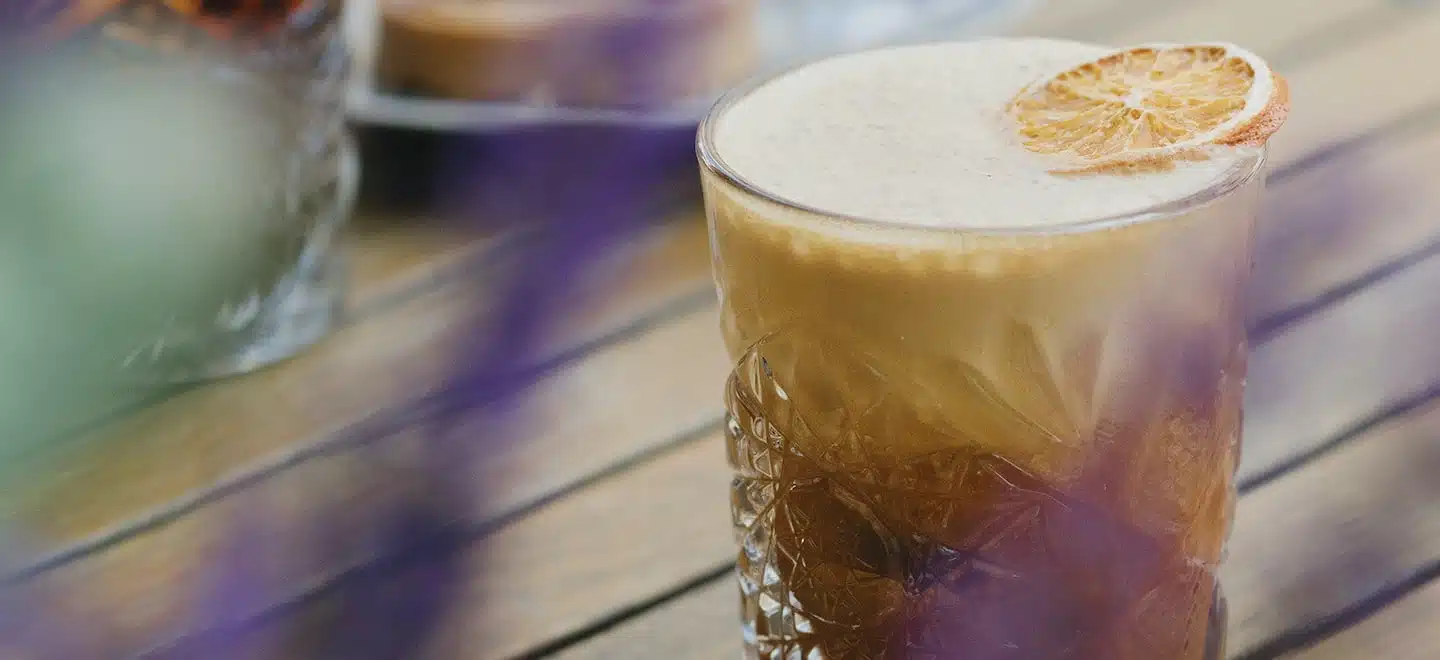
Caffeine drinks: Five coffee drink recipes to wake you up
Stirred cold or shaken: In the blog we show you five delicious coffee cocktail recipes to mix at home.
26.05.2020

7 tips for delicious coffee from the fully automatic machine
The perfect coffee at the touch of a button – that’s what fully automatic coffee machines promise. But what do you have to bear in…
06.08.2022

Cold Brew X Coffee Liqueur
Our coffee liqueur, based on Cold Brew and aged rum, delights the bar world and is also a real treat at home.
19.07.2020
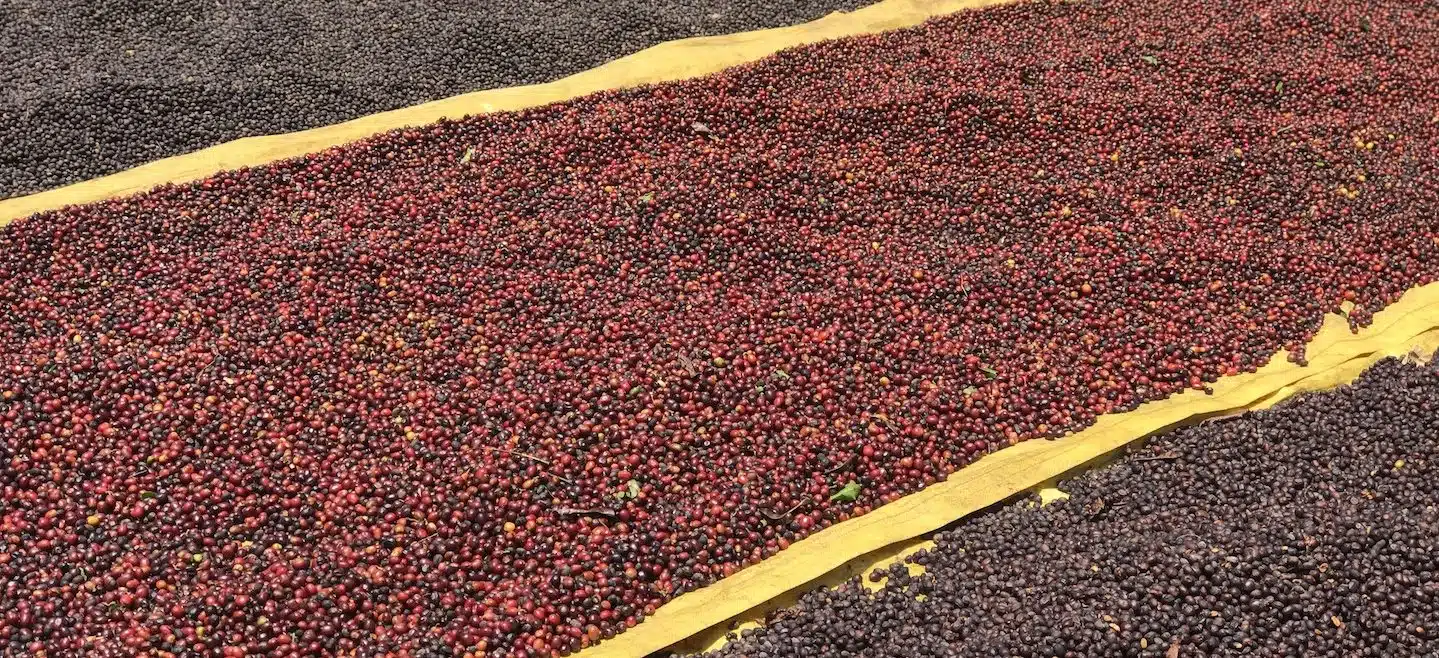
Coffee fermentation 2.0: New methods of coffee preparation
New processing methods such as carbonic maceration or anaerobic fermentation are becoming increasingly popular. We have taken a closer look at these two processes for…
10.03.2021
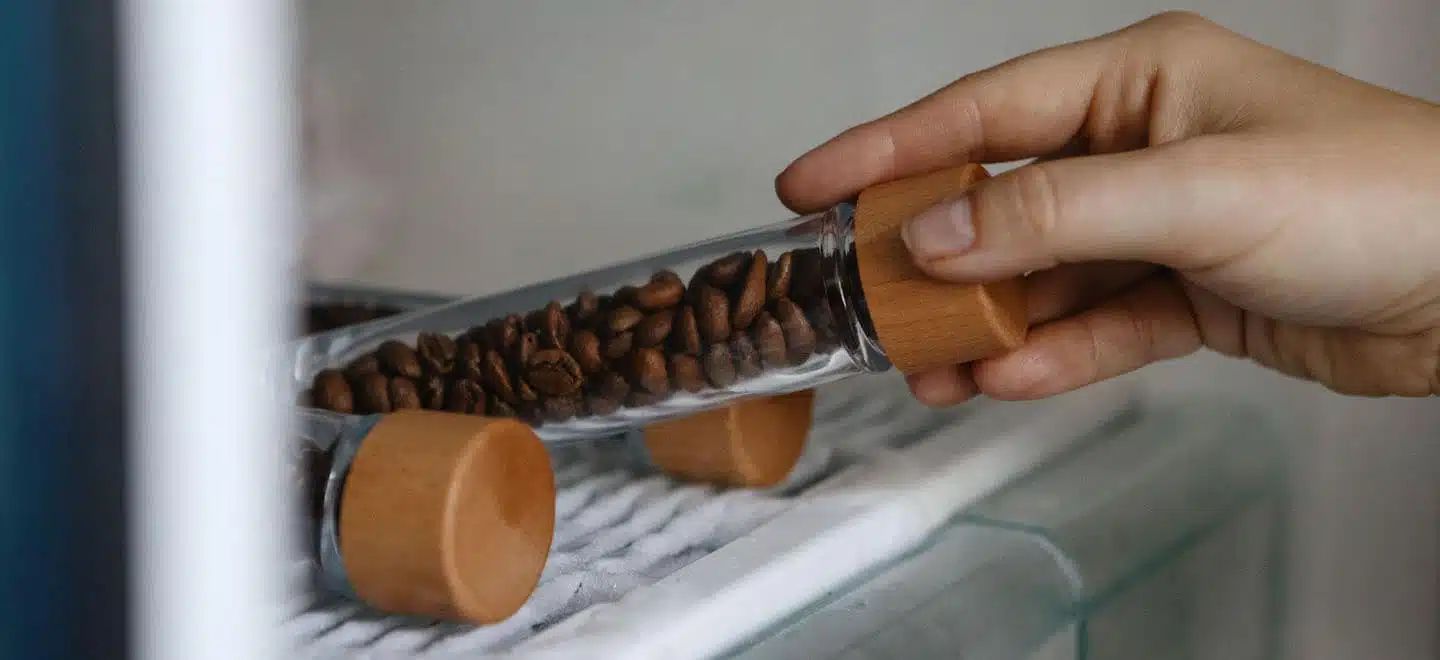
FREEZING COFFEE – WHY AND HOW IT WORKS
The controlled freezing of coffee opens a new chapter in the enjoyment of specialty coffee. In this blog post we explained how it works.
16.10.2021

Interview with Head Roaster Ivo: "We are constantly experimenting"
The roaster can have a decisive influence on the result in the cup through the type of roasting. But what is our roasting philosophy? Our…
01.09.2022
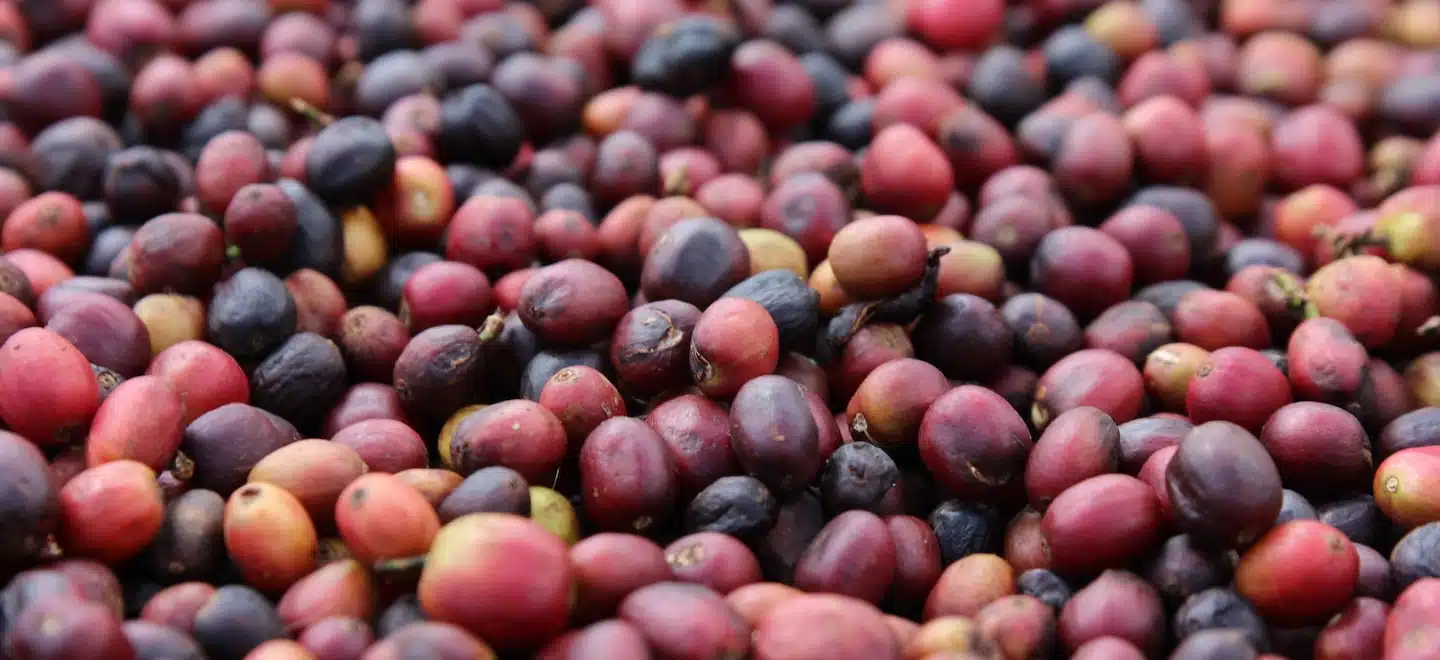
What makes Carbonic Maceration special?
One of the most innovative forms of green coffee processing is the so-called carbonic maceration. Nicole explains what distinguishes the fermentation method in specialty coffee…
15.07.2021
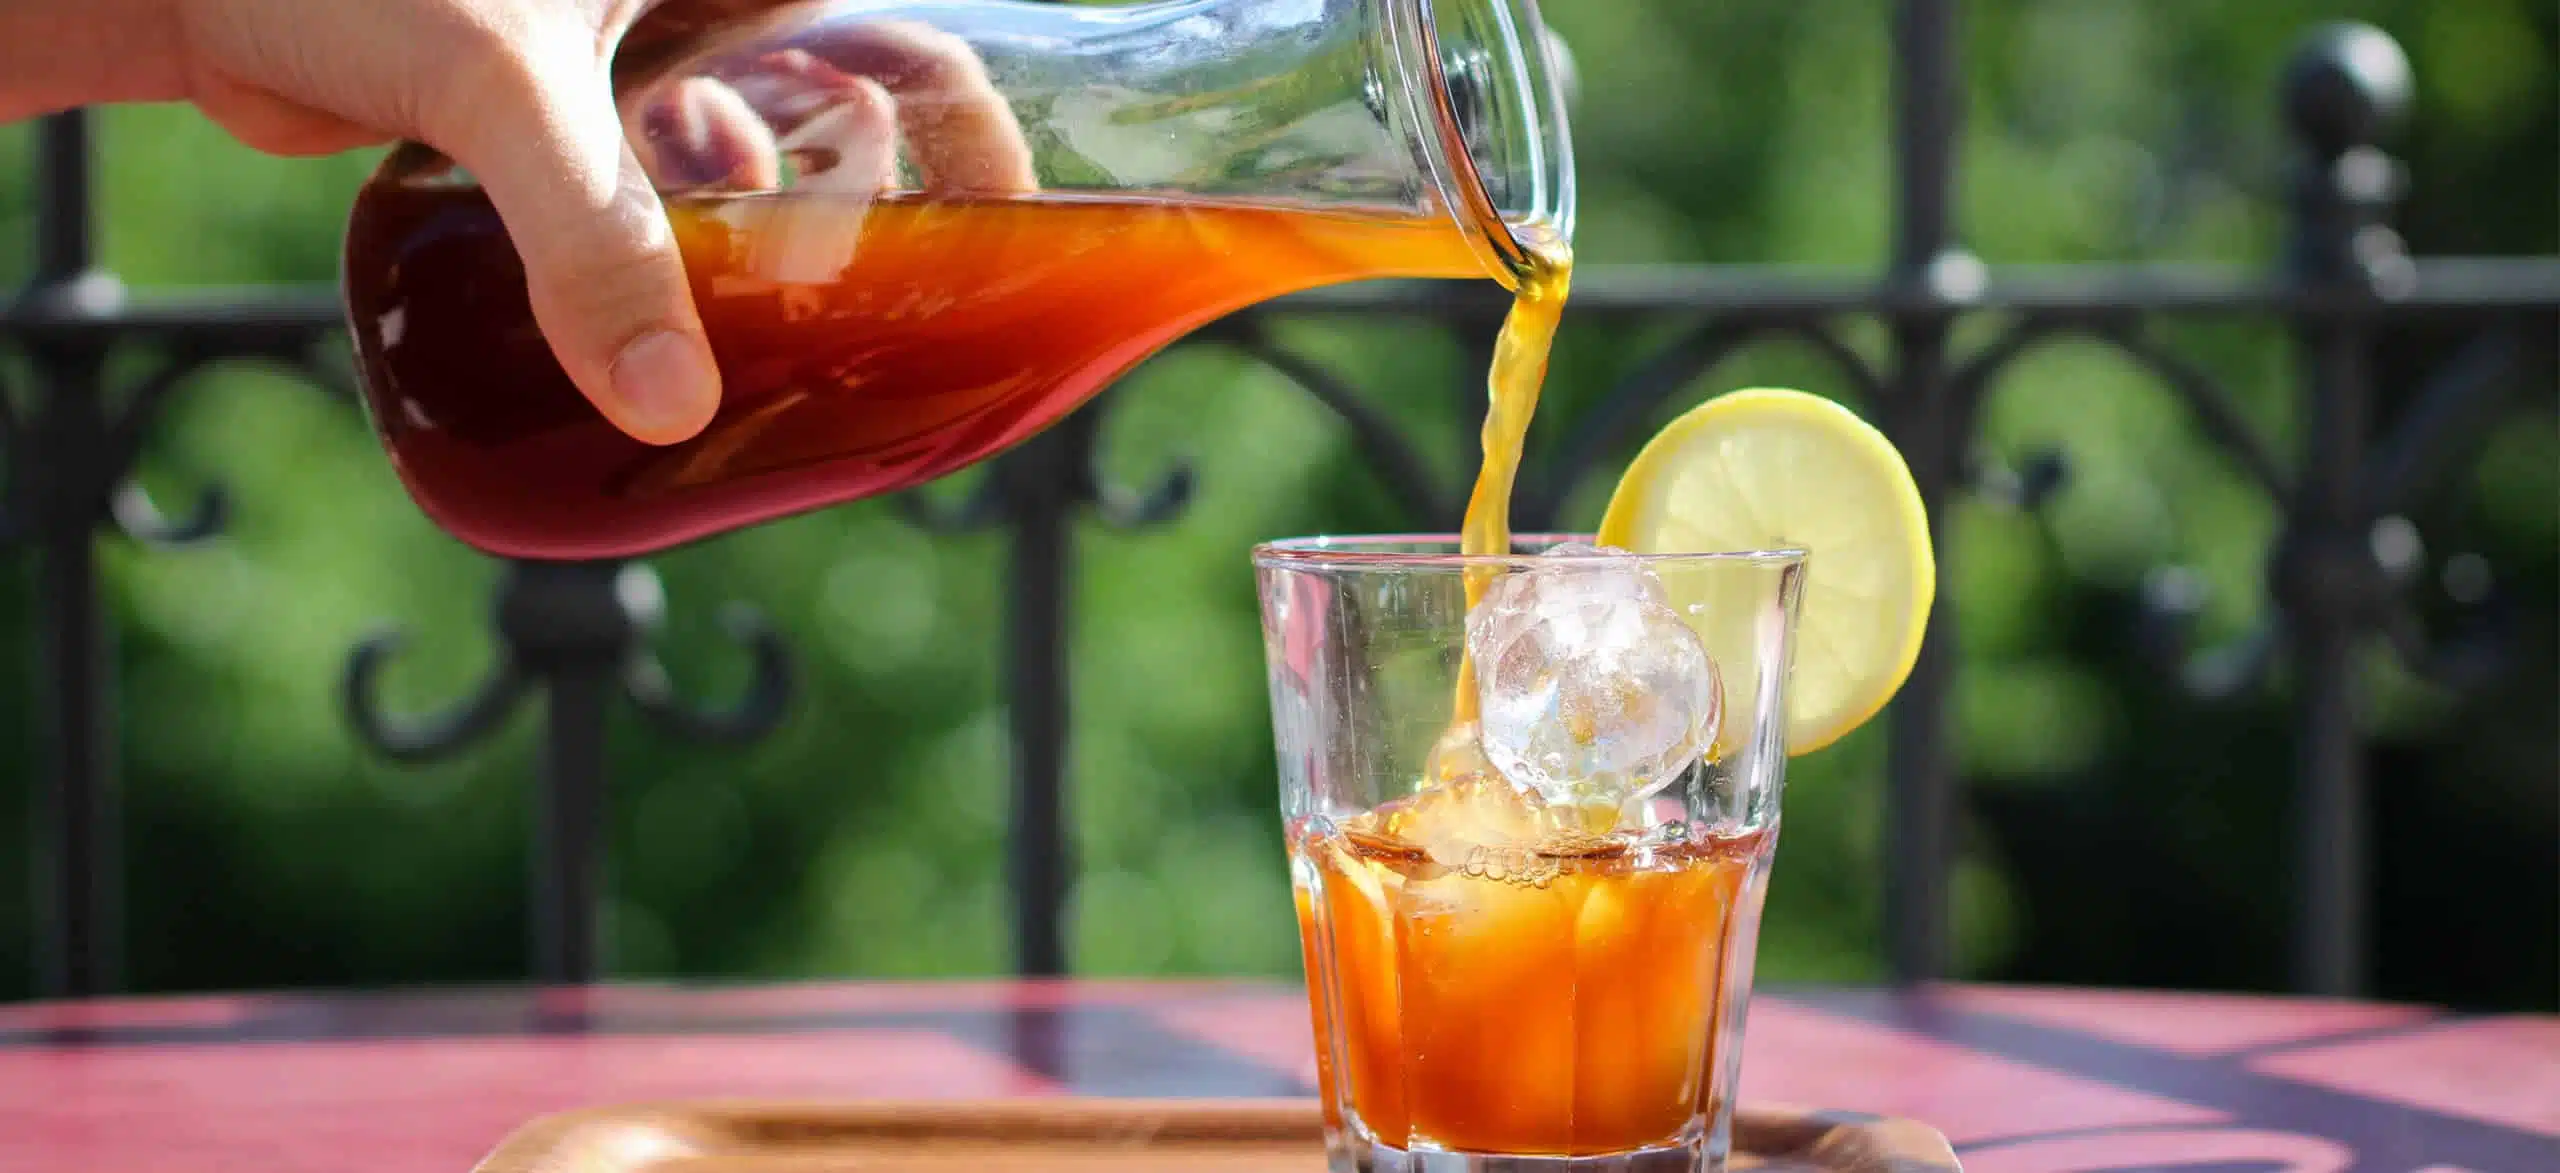
Preparing Cold Brew: 5 steps to pleasure
Need a refreshment? No problem. Our cold brew recipe will get you through the spring chilled and you can easily make your own cold brew…
27.03.2023
How healthy is coffee actually?
Coffee is by far the most popular drink among Germans, ahead of mineral water and beer – everyone drinks around 169 liters per year on…
17.09.2023
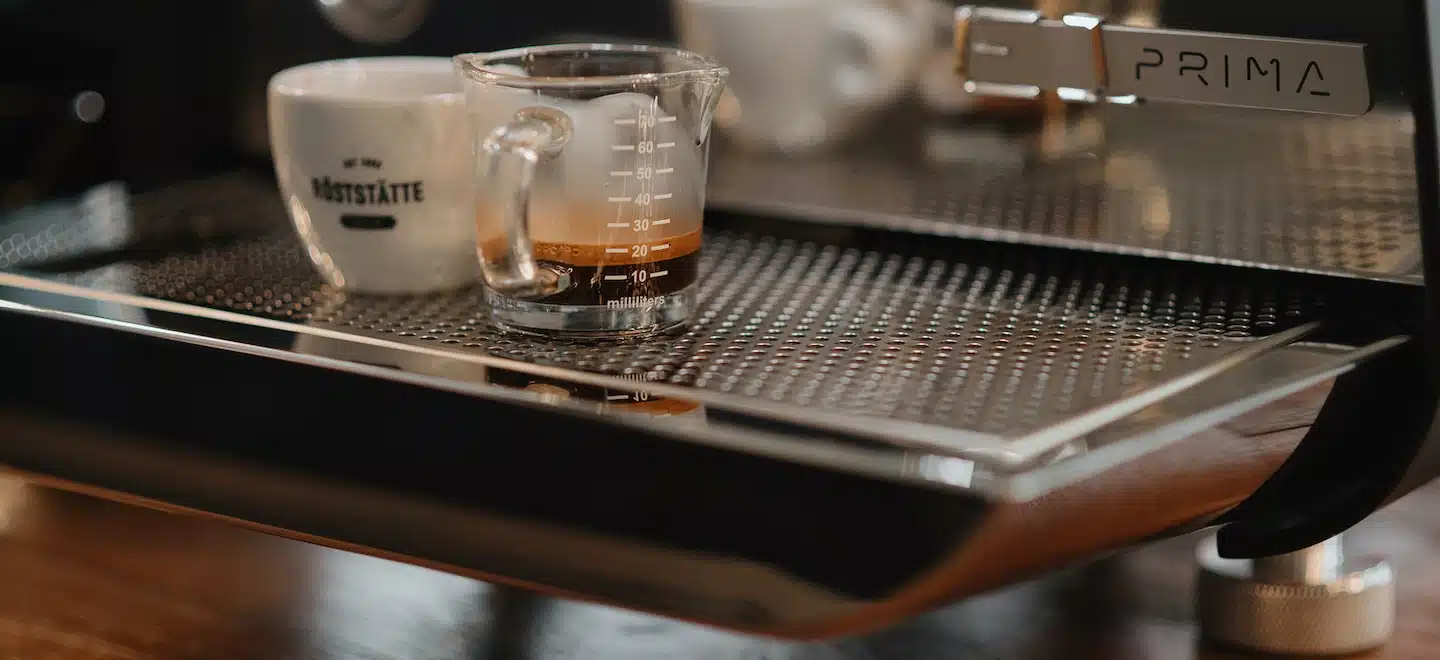
How do I dial in an espresso?
When preparing espresso with a portafilter machine, the most important thing is a recipe and precise settings. Our Head Barista shows in the video how…
16.08.2023
Espresso à l´Orange
Our signature drink for the summer season is especially refreshing this year! The Espresso à l’Orange – a flavorful symbiosis between coffee and orange that…
27.07.2020

Sign up for our newsletter and save €5
Get our best offers – plus €5 off your next order. By signing up, you agree to receive email marketing. Privacy Policy